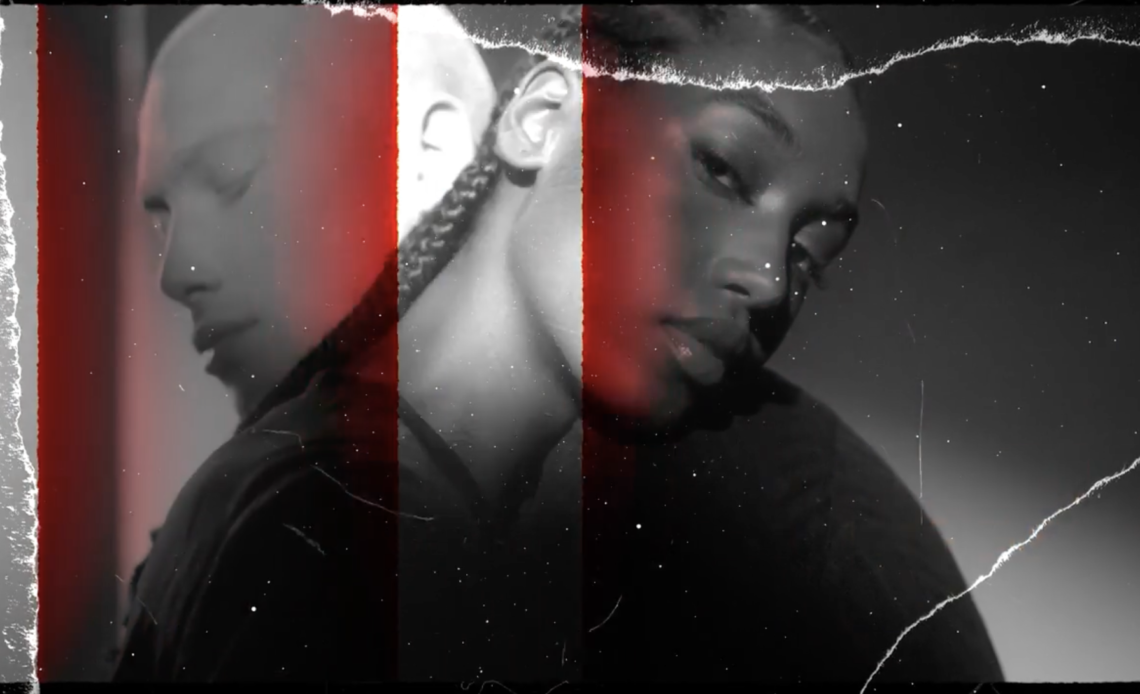
Creating a Vintage Film Damage Look in After Effects: A Step-by-Step Guide
Complete Tutorial in Video Format available below
Hey there, fellow motion designers! If you’re looking to achieve that classic, vintage archival film grain effect in After Effects—without using stock footage, overlays, or plugins—you’re in for a treat. In this guide, we’ll break down a step-by-step method to create an authentic analog film look entirely within After Effects.
The magic of this effect comes from layering multiple subtle elements together to simulate the organic imperfections of old film. Whether you want a distressed 8mm effect or a dreamy music video aesthetic, there’s plenty of room to experiment and customize. We’ll cover nine different layers, each adding its own characteristic touch to the final look.
Setting Up Your Project
- Work in HD (or 4K for higher-quality projects)
- Use 16-bit color mode for smoother gradients
- Create a test plate with a mix of footage and graphic elements in a pre-comp
Now, let’s dive into the layers!
1. Light Leaks
Light leaks occur due to imperfections in the camera body or film emulsion. Here’s how to create them:
- Black solid layer
- Fractal Noise effect with a soft, evolving texture (animated using an expression)
- CC Toner effect with a wiggle expression on the midtones to create random color shifts
- Multiply another Fractal Noise layer to randomize color bursts
- Set the layer to Screen mode
2. Color Correction
This layer enhances the vintage look by limiting the color palette and adding softness:
- Glow effect for light diffusion
- Channel Mixer (modifies color channels to create a bronze and teal aesthetic)
- Lumetri Color with a Kodak 2383 preset for a classic film print look
- Vignette effect to darken the corners
- Levels effect to prevent pure blacks and whites
3. Flicker
To mimic subtle exposure shifts in film:
- Adjustment layer with an Exposure effect
- Apply a wiggle expression to create random flickers
4. Dust
Dust particles appear naturally in old film. Here’s how to simulate them:
- Solid layer with Fractal Noise (high contrast and animated random seed)
- Set Channels effect (key out black areas)
- Noise effect (adds tiny color variations)
- Unsharp Mask (sharpens details)
- Gaussian Blur (softens the look)
5. Damage
This layer introduces occasional large, grungy imperfections:
- Fractal Noise effect with animated scale and random seed
- Extract effect (removes black values to create transparency)
- Another Fractal Noise layer set to Hard Light mode for added chaos
- CC Toner (adds a blue-green tint)
6. Blobs
These random light bursts mimic exposure inconsistencies:
- Fractal Noise effect adjusted to create round dot-like patterns
- CC Toner (adds subtle color variation)
- Set the layer to Multiply
7. Vertical Scratches
Film often has thin vertical scratches. Here’s how to create them:
- Fractal Noise effect stretched vertically
- Scale up the layer on the Y-axis to 2000%
- Turbulent Displace (adds jitter and random movements)
- Multiply mode to blend with footage
8. Grain
A crucial part of the vintage look, grain adds texture and realism:
- Noise effect for fine grain
- Gaussian Blur to integrate it into the footage
- Unsharp Mask to restore clarity
9. Gate Weave
This simulates the slight jittering movement of film passing through a projector:
- Transform effect applied to an adjustment layer
- Wiggle expression for subtle X and Y-axis movements
- Scale the image up slightly (~105.5%) to compensate for the motion
Final Touches
Once all layers are in place, tweak the settings to achieve your desired intensity.
- Increase Fractal Noise brightness for a more distressed look
- Adjust grain size and intensity for subtlety or exaggeration
- Experiment with layer opacity to control the effect’s weight
Wrapping Up
And there you have it—a fully customizable, vintage film grain effect made entirely in After Effects! Whether you want a heavy, gritty 1950s film reel vibe or a dreamy, washed-out aesthetic, this method gives you full creative control.
Try experimenting with different values, add unique color grades, and make it your own! Have fun animating, and let me know if you have any questions. Happy creating!


