Hey everyone! This is Brady from TextureLabs.org, back in Adobe After Effects with an exciting tutorial on creating a sci-fi glowing green monitor effect. If this sounds familiar, you might have seen the Photoshop version last month. You don’t need to have watched that video, but Photoshop serves as a great reference for key concepts. I’ll include a few clips from that video, but this tutorial focuses entirely on After Effects to create a stunning animated effect.
There are two ways to achieve this effect:
- The Hard Way: Join me on a 20-minute adventure through expressions and After Effects techniques to manually build this effect. It’s a bit tricky, but the result is worth it.
- The Easy Way: I’ve built a supercharged template with a custom controller, allowing you to quickly apply different pixel styles and customize the look. You can download it from the TextureLabs website.
Now, let’s dive into After Effects and bring this effect to life.
Step 1: Setting Up the Composition
- Open After Effects and create a new HD 1920×1080 composition at 24 frames per second.
- The effect looks great at 12fps, but instead of changing the composition settings, we’ll apply the Posterize Timeeffect at the end.
- While working, set the preview to skip one frame to simulate 12fps playback.
Step 2: Preparing the Animation
- Use the Roto Brush Tool to create a matte of your subject.
- Apply the Camera Tracker to insert a camera and large 3D planes in the background.
- Add animated texture and type to create an illusion of movement.
- Track elements onto goggles and apply the Solarized Effect using Colorama.
- Use the Tint Effect to strobe shadows and add a glow.
Now that we have a rough animation, let’s start refining it.
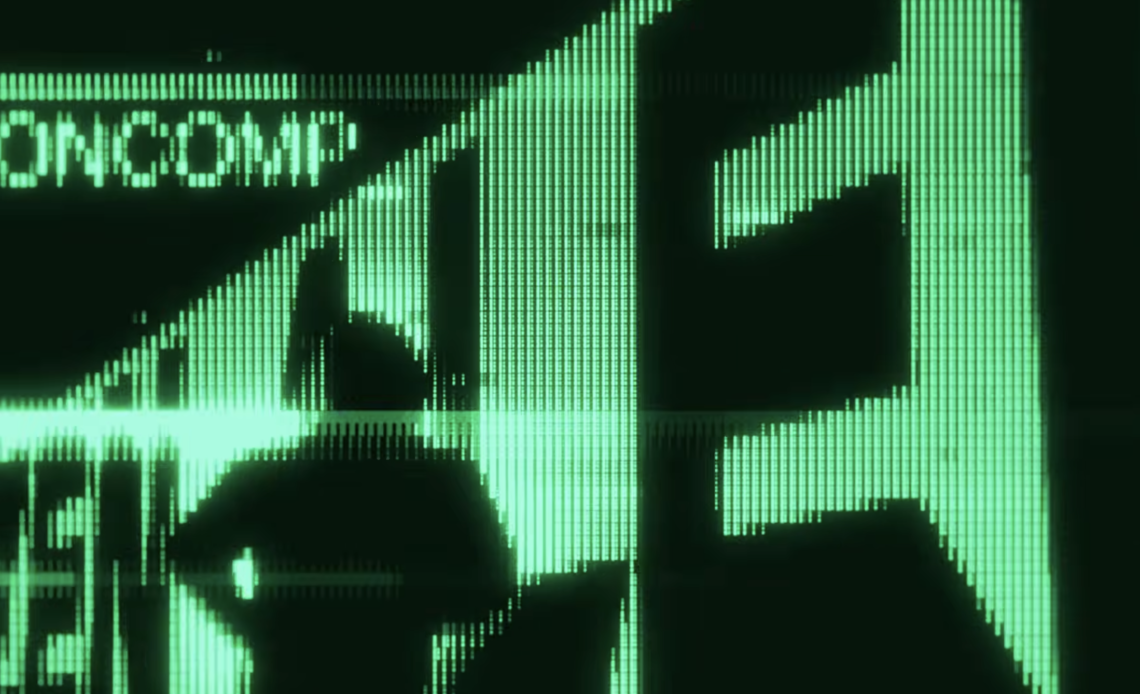
Step 3: Creating the Glitch Effect
- Create an Adjustment Layer and name it
Pixelate Displacement Effect. - Apply the Displacement Map effect.
- Create a Solid Layer and name it
Pixelate Displacement Reference. - Apply Fractal Noise and adjust settings:
- Complexity: 2
- Noise Type: Block
- Contrast: 960
- Brightness: -525
- Turn off Uniform Scaling, set Width: 100, Height: 25.
- Animate with an expression on Random Seed:
time * 100. - Apply PS Arbitrary Map, set it to 180 degrees.
- Reduce opacity to 0 and set Displacement Map Source to
Effects & Masks. - Set Horizontal Displacement: 800, Vertical Displacement: 0.
- Add Solid Composite Effect, set to Black.
Now, we have a cool glitch effect. Let’s move on to pixelation.
Step 4: Pixelation Effect
- Create an Adjustment Layer named
Pixelate Mosaic Control. - Add an Expression Controls -> Slider Control and rename it
Block Size. - Apply Mosaic Effect:
- Use expressions for horizontal and vertical blocks:
thisComp.width / effect("Block Size")("Slider") thisComp.height / effect("Block Size")("Slider") - Drop in the Pattern Tile layer and rename it
Pixelate Pattern. - Set Position & Anchor Point to
(0,0). - Link Scale to block size with:
[thisComp.width/effect("Mosaic")("Horizontal Blocks"), thisComp.height/effect("Mosaic")("Vertical Blocks")] - Apply Repetile Effect and expand right/left using:
thisComp.width * (100/effect("Pixelate Pattern")("Scale") - width) - Set blending mode to Hard Mix for a threshold effect.
Step 5: Adding Glow and Final Effects
- Apply Wide Time Effect:
- Set Forward Steps:
0 - Set Backward Steps:
2 - Reduce opacity to
50%.
- Set Forward Steps:
- Add Glow Effect:
- Apply Fast Box Blur (
0.2) - Apply Glow (Radius: 20, Intensity: 0.6)
- Add another Glow (Radius: 80, Intensity: 0.6).
- Apply Fast Box Blur (
- Color Grading:
- Add CC Toner Effect for a green glow.
- Adjust shadow tones slightly warmer.
- Lift black levels to greenish tones.
- Noise & Grain:
- Apply Noise Effect (
3%) - Apply Gaussian Blur (
2) - Apply Unsharp Mask (
100for sharpening).
- Apply Noise Effect (
Step 6: Finalizing and Exporting
- Keyframe Block Size to animate pixel size dynamically.
- Preview and fine-tune settings.
- Export using H.264 for best quality.