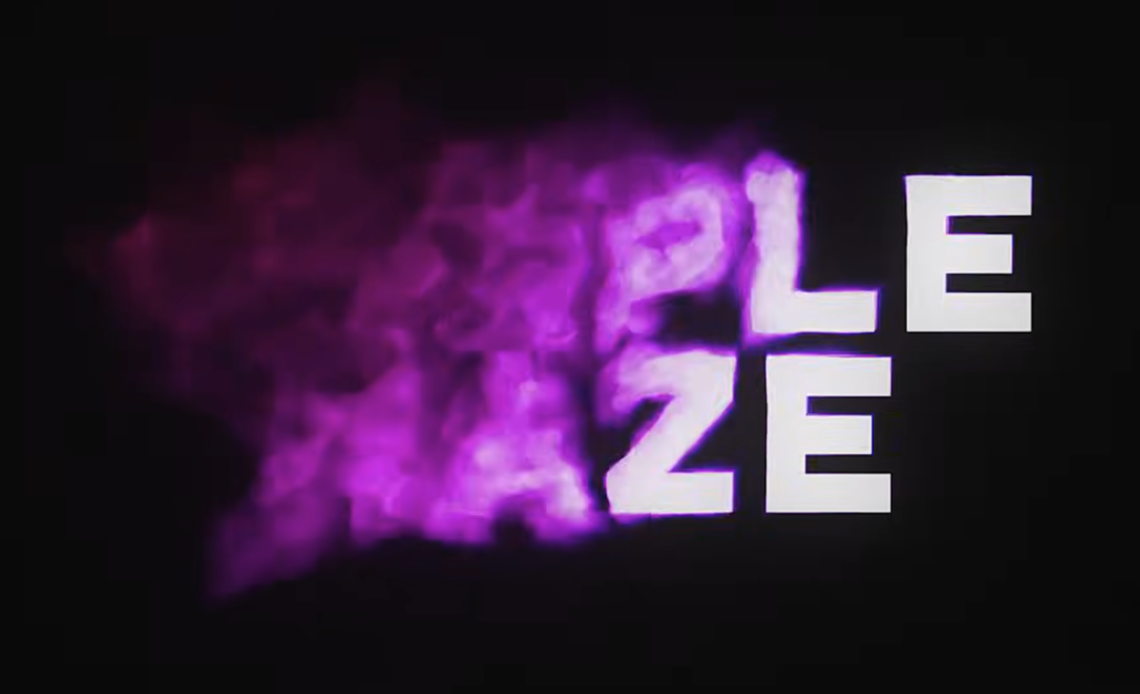
Welcome to this in-depth tutorial on CC Time Blend Effects, an elusive but powerful tool hidden within After Effects CC. This effect isn’t visible in the default effects menu, but with a simple workaround, you can unlock its full potential to create stunning, psychedelic motion effects. In this guide, we’ll walk through the process of activating and using CC Time Blend Effects to generate a mesmerizing Purple Haze smoke transition.
Whether you’re an intermediate or advanced After Effects user, this tutorial will push the limits of your creativity. Let’s dive in!
What is CC Time Blend Effects?
CC Time Blend Effects is a unique effect that functions similarly to the Echo effect but allows for greater control over time-based transformations. Adobe removed it from the effects menu due to compatibility issues with multi-core processing, but the plugin still exists in After Effects—just hidden.
By following this tutorial, you’ll learn how to:
- Activate CC Time Blend Effects in After Effects
- Use it with adjustment layers for better control
- Combine it with effects like Turbulent Displace and Offset for unique results
- Create a stunning smoke-like transition effect
Step 1: Activating CC Time Blend Effects
Downloading the Animation Preset
Since the effect isn’t available in the Effects menu, you need to install an animation preset that makes it accessible. Here’s how:
- Visit the Sore Effects website (link provided in the video description).
- Download the animation preset file (
.ffxformat). - Move the downloaded file into your Presets folder in After Effects.
- Restart After Effects.
Once installed, you’ll find CC Time Blend and CC Time Blend Effects in your Animation Presets.
Step 2: Applying CC Time Blend Effects to a Layer
Setting Up the Composition
- Open After Effects and create a new composition.
- Set the frame rate to 48 fps for smoother transitions.
- Create a text layer and type anything you want.
- Create an adjustment layer above the text.
Applying the Effect
- Select the adjustment layer.
- Go to Effects & Presets and locate CC Time Blend Effects under Animation Presets.
- Drag and drop it onto the adjustment layer.
At this point, the effect is applied, but it needs proper structuring to work correctly.
Step 3: Understanding the Effect Structure
CC Time Blend Effects functions similarly to an Echo effect but requires two instances:
- The first instance is set to Paste
- The second instance is set to Copy
For better organization, let’s split these into separate layers:
- Duplicate the adjustment layer.
- Rename the top one Copy and the bottom one Paste.
- Set the Paste layer’s effect to “Paste” with Accumulation at 90%.
- Set Clear to Current Frame (so it doesn’t start on a transparent frame).
Now, we have the foundational setup in place.
Step 4: Adding Distortion Effects
Introducing Turbulent Displace
- Create a third adjustment layer and name it “Effects.”
- Apply Turbulent Displace to this layer.
- Set Displacement Type to Twist.
- Reduce the Amount to 10 and Complexity to 10.
- Animate the Evolution using an expression:
time * 100.
This ensures each echoed frame gets more turbulence.
Adding Offset Motion
- On the “Effects” layer, apply Transform.
- Change the X position from 960 to 963.
- This shifts each echo slightly to the right, creating a trailing effect.
Step 5: Creating the Smoke-Like Effect
Using MiniMax to Expand the Echoes
- Apply MiniMax to the “Effects” layer.
- Set Radius to 2.
- Change Channel to affect both Alpha & Color.
This makes the echoes gradually expand outward.
Adding Fractal Noise for Variation
- Create a new solid layer and name it “Fractal.”
- Apply Fractal Noise and lower the Scale to 50%.
- Add the expression:
time * 500to Evolution.
Now, let’s link it to our existing effects:
- On the “Effects” layer, apply Calculations.
- Set Second Layer to “Fractal.”
- Increase Opacity to 20%.
- Change Blending Mode to Silhouette Luma.
This adds a cloud-like texture to the effect.
Step 6: Refining the Transition
Adjusting Accumulation for Full Disintegration
If you set the Accumulation in the “Paste” layer to 100%, the effect infinitely loops until it fades into complete smoke.
Adding a Mask for Controlled Transition
- On the Paste layer, create a mask covering half the frame.
- Animate the mask to move across the frame over 3 seconds.
- Feather the mask to 200px for smooth blending.
This makes the effect appear progressively, as if the text is dissolving into smoke over time.
Step 7: Creating Variations for Depth
To make the effect more dimensional:
- Duplicate the composition three times.
- Name them Large Haze, Medium Haze, and Small Haze.
- Adjust Turbulent Displace, MiniMax, and Offset settings for each:
- Large Haze: Default settings.
- Medium Haze: Reduce Turbulent Displace to 50, MiniMax to 1, and Offset to 962.
- Small Haze: Reduce Complexity of Turbulent Displace to 5.
Stack these layers in a final comp to create a multi-layered smoke effect.
Conclusion
CC Time Blend Effects is an incredibly powerful yet overlooked tool in After Effects. By structuring it with Copy & Paste layers, adding distortion effects like Turbulent Displace & MiniMax, and refining the effect with Fractal Noise & Masking, you can achieve a stunning, animated smoke transition.