Introduction
Creating realistic 2D smoke effects in After Effects can add a dynamic touch to your animations, making them feel more immersive and polished. Whether you’re animating exhaust fumes, dust trails, or stylized fire smoke, mastering smoke effects is crucial for visual storytelling.
In this tutorial, we will explore three different techniques for crafting 2D smoke effects in After Effects without the need for external plugins. By the end, you’ll have a better understanding of how to manipulate shapes, keyframes, and effects to create fluid and natural smoke.
Setting Up the Composition
Before diving into the effects, let’s start by preparing our After Effects workspace.
- Create a New Composition:
- Open After Effects and create a new 1920×1080 composition.
- Set the frame rate to 24 FPS and the duration to about 5 seconds.
- Set the background color to black for better visibility.
- Import Reference Layers:
- If using reference footage, import the file and reduce the opacity to around 30%.
- Solo the reference layer so you can focus solely on the animation.
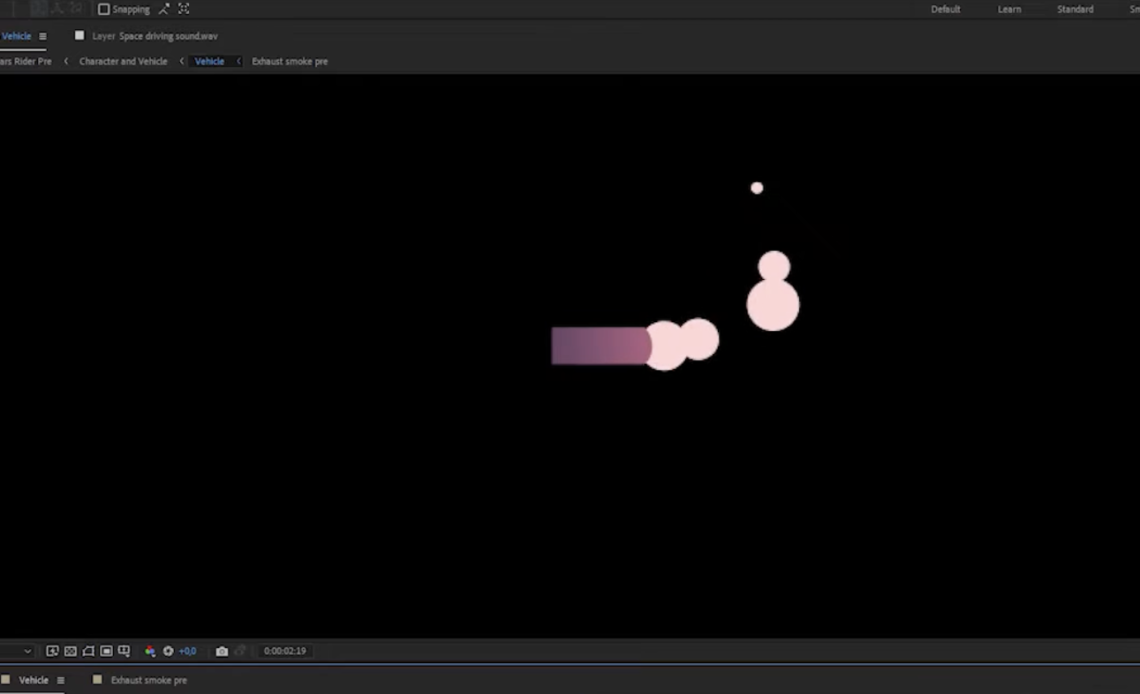
Technique 1: Exhaust Smoke Animation
Step 1: Creating the Smoke Base
- Use the Ellipse Tool to create a simple circular shape layer.
- Rename the layer to
Smoke 1to keep things organized. - Move the shape behind the tailpipe or exhaust area.
Step 2: Adding Position and Scale Animation
- Select the Smoke 1 layer and press
Pto open Position keyframes. - Set keyframes at 2s and 3s, making the smoke move upwards.
- Adjust the motion curvature to give it a natural flow.
- Press
Sto add Scale keyframes, making the smoke grow over time. - Easy Ease the animation (
F9) to smooth out the motion.
Step 3: Duplicating and Varying the Smoke Elements
- Duplicate the Smoke 1 layer (
Ctrl+D) six times. - Open the duplicated layers and adjust the scale and position for variation.
- Pre-compose all smoke layers (
Ctrl+Shift+C), naming itExhaust Smoke Pre.
Step 4: Looping the Smoke Animation
- Trim the work area to 1 second (
Nkey at the 3s mark). - Use Time Remapping (
Enable Time RemappingunderLayer > Timemenu). - Apply a
loopOut()expression to seamlessly repeat the smoke animation.
Step 5: Blending the Smoke
- Apply Fast Box Blur (
Effect > Blur > Fast Box Blur) with a radius of 5. - Use Levels (
Effect > Color Correction > Levels) and adjust the Alpha Channel. - Add Roughen Edges to make the smoke less uniform and more organic.
- Parent the smoke layer to the vehicle so it moves with the tailpipe.
✅ Your first smoke effect is ready!
Technique 2: Dust Trail Effect
Step 1: Creating the Base Shape
- Use the Ellipse Tool to draw a circle matching the size of the dust trail.
- Position it at the starting point of the dust animation.
- Rename it
Dust 1and assign a distinct color to differentiate it.
Step 2: Animating the Motion Path
- Press
Pto add Position keyframes at 2s and 3s. - Modify the motion arc for a natural trailing effect.
- Easy Ease (
F9) the keyframes to smooth out the movement.
Step 3: Creating Dust Variations
- Duplicate the
Dust 1layer twice (Ctrl+D). - Adjust the Scale to 70% and 80% on the duplicates.
- Pre-compose all dust layers (
Ctrl+Shift+C), naming itDust Trail Pre.
Step 4: Sequencing for Looping Effect
- Trim the animation to 1 second.
- Offset each layer by 8 frames to stagger the animation.
- Duplicate and sequence them to create a continuous loop.
Step 5: Blending the Dust for Realism
- Add an Adjustment Layer and apply Fast Box Blur (15 radius).
- Use Levels (Alpha Channel) to merge the dust puffs.
- Apply CC Slant to tilt the smoke, matching the reference image.
- Set the Blending Mode to Overlay and reduce Opacity to 50%.
✅ Your dust trail effect is now seamlessly looping!
Technique 3: Fire Smoke Effect
Step 1: Creating a Custom Smoke Shape
- Create a solid layer (
Layer > New > Solid) and rename itSmoke Solid. - Draw a rounded rectangle using the Shape Tool.
- Convert it to a Bezier Path to manually adjust the curves.
Step 2: Applying Wave Warp for Natural Motion
- Pre-compose the smoke shape (
Smoke PreandSmoke Pre Pre). - Apply Wave Warp (
Effect > Distort > Wave Warp) with:- Wave Width:
350 - Wave Height:
60 - Wave Speed:
2 - Pinning:
Vertical Edges
- Wave Width:
- Duplicate the Wave Warp effect, adjusting the width (
500) and speed (1).
Step 3: Adding Secondary Smoke Movements
- Add small circular offshoots (
Ellipse Toolto createOffshoot 1layer). - Animate their Position and Scale, making them disappear over time.
- Duplicate and randomize the timing and direction for variation.
Step 4: Enhancing the Smoke with Effects
- Apply Fast Box Blur (15 radius).
- Use Levels (Alpha Channel) to enhance contrast.
- Add Roughen Edges to smooth out the appearance.
- Use Gradient Ramp to blend the smoke colors smoothly.
- Adjust Blending Mode to Multiply (20% opacity) for better integration.
✅ Your fire smoke animation is now complete!
Conclusion
By mastering these three techniques, you now have a versatile toolkit for creating realistic 2D smoke effects in After Effects.