Light rays add a dramatic and cinematic quality to images, making them ideal for motion graphics, photography, and digital artwork. This effect is commonly seen in title sequences, fantasy scenes, and high-impact visual designs. In this Photoshop tutorial, we will walk you through the process of creating stunning light rays using built-in Photoshop tools, without the need for external plugins.
By the end of this guide, you will be able to: ✅ Create long and short light rays ✅ Apply light bloom effects ✅ Enhance text and objects with lighting and shadows ✅ Use gradient maps and textures to colorize the effect
Let’s dive in!
Step 1: Setting Up the Photoshop Document
1. Create a New Document
- Open Adobe Photoshop and create a new document (1920×1080 pixels for HD resolution).
- Set the background color to gray for better visibility.
- If working with text, select a bold font for a more striking effect.
2. Add a Shape or Text
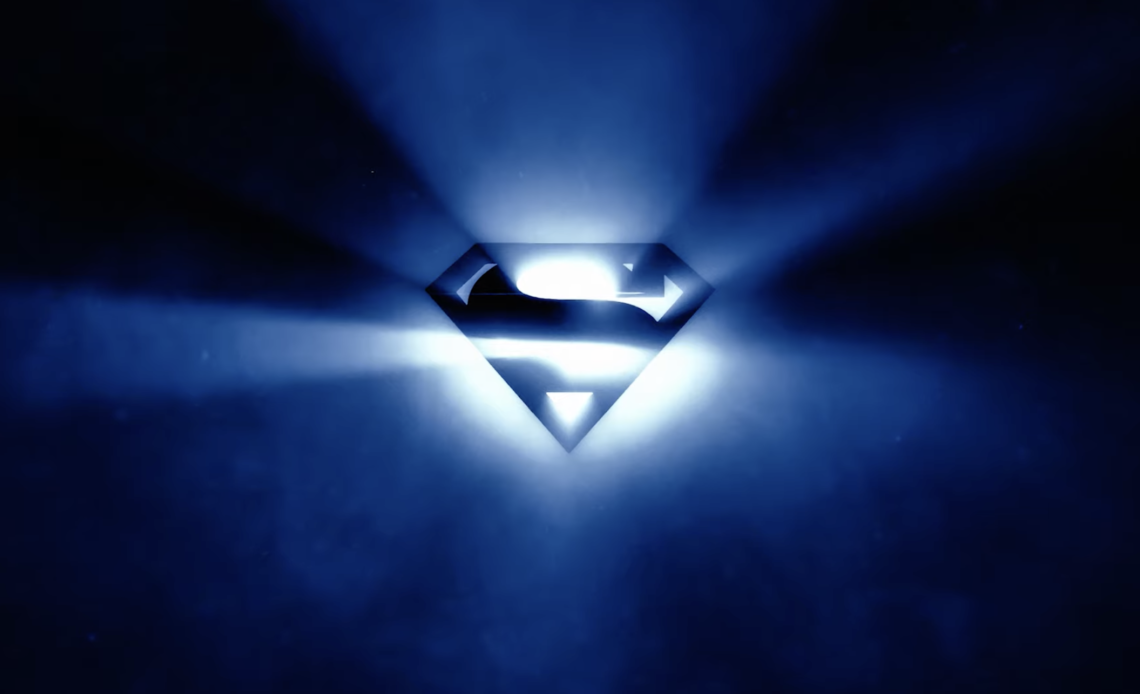
- Insert an ornamental shape, logo, or text.
- Ensure it is black against the gray background.
- If using text, convert it into a smart object for easy modifications later.
Step 2: Creating the Light Source
Light rays originate from a bright source. Here’s how to set it up:
- Create a new layer and name it
Backlight. - Select the Brush Tool (B).
- Set Size: 600px
- Set Hardness: 15%
- Click once behind the text/shape to create a soft white glow.
- Change the background to black by pressing
Dto reset colors and then pressingAlt + Backspace.
Now, you have a light source ready for the light rays effect.
Step 3: Automating Light Rays with Photoshop Actions
1. Load the Light Rays Action
Creating light rays manually requires multiple filters and adjustments. To automate the process:
- Download a Photoshop action file (e.g.,
LightRays.atn). - Open the Actions Panel (
Window > Actions). - Load the action by clicking the menu icon and selecting
Load Actions. - The action includes:
Long Light RaysShort Light RaysLight Bloom
2. Convert to 16-Bit Mode
- Go to
Image > Mode > 16-bit. - Photoshop works in 8-bit by default, but 16-bit allows smoother gradients.
3. Run the Action
- Select
Long Light Raysand hitPlay. - The effect generates light rays that extend outward.
- The layer mode is set to Screen, allowing flexibility in blending.
You can adjust opacity, brightness, and intensity as needed.
✅ Alternative Options:
- Use
Short Light Raysfor a compact, focused effect. - Apply
Light Bloomfor a softer, diffused glow.
Step 4: Adjusting the Light Ray Direction
By default, light rays extend from the center. If you want angled lighting:
- Select the Crop Tool (C).
- Drag the canvas upwards to increase space.
- Run the action again.
- Crop the image back to original size.
This technique creates angled light effects, ideal for sunlight, spotlights, and atmospheric lighting.
✅ Pro Tip: Hold Shift while dragging the crop box to keep proportions.
Step 5: Adding Atmospheric Texture
To enhance realism, add atmospheric textures:
- Import a cloud or fog texture (
File > Place Embedded). - Set Blending Mode to
Soft Light. - Adjust Opacity (30-50%) for a subtle effect.
This adds a realistic light diffusion, making the rays appear more natural.
✅ Use High-Resolution Textures: A 2048x2048px texture works best.
Step 6: Adding Color with Gradient Maps
- Create a Gradient Map Adjustment Layer (
Layer > New Adjustment Layer > Gradient Map). - Click on the gradient preview to edit.
- Adjust colors:
- Shadows: Deep reds or purples
- Midtones: Warm oranges
- Highlights: Bright yellows or whites
- Set blending mode to Overlay or Soft Light.
Now, the light rays have a cinematic color grading.
✅ Experiment with different color presets for unique styles.
Step 7: Enhancing the Effect with Lens Flares
To add more drama, insert a lens flare:
- Import a lens flare image (
File > Place Embedded). - Set blending mode to
Screen. - Position it at the center of the light source.
- Adjust scale and rotation.
The lens flare boosts intensity and realism, giving it a professional movie-style glow.
✅ Download Free Lens Flares: Websites like TextureLabs offer high-quality overlays.
Step 8: Advanced Typography Enhancement
1. Creating a 3D Shadow
- Duplicate the text layer (
Ctrl + J). - Move the copy below the original.
- Right-click > Rasterize Type.
- Go to
Edit > Transform > Perspective. - Drag corners outward to create a 3D perspective.
- Apply Tilt-Shift Blur (
Filter > Blur Gallery > Tilt Shift).
Now, your text casts a realistic shadow.
2. Adding Depth to the Text
- Duplicate the text again.
- Change color to white.
- Scale down slightly.
- Apply Bevel & Emboss (
Layer Style > Bevel & Emboss). - Adjust:
- Depth: 200%
- Size: 10px
- Angle: 90°
Now, the text appears three-dimensional with subtle highlights.
✅ Tip: Adjust shadow blur for more realism.
Conclusion
You’ve now created cinematic light rays in Photoshop using actions, textures, and lighting techniques. This effect can be applied to posters, digital art, thumbnails, and cinematic scenes.