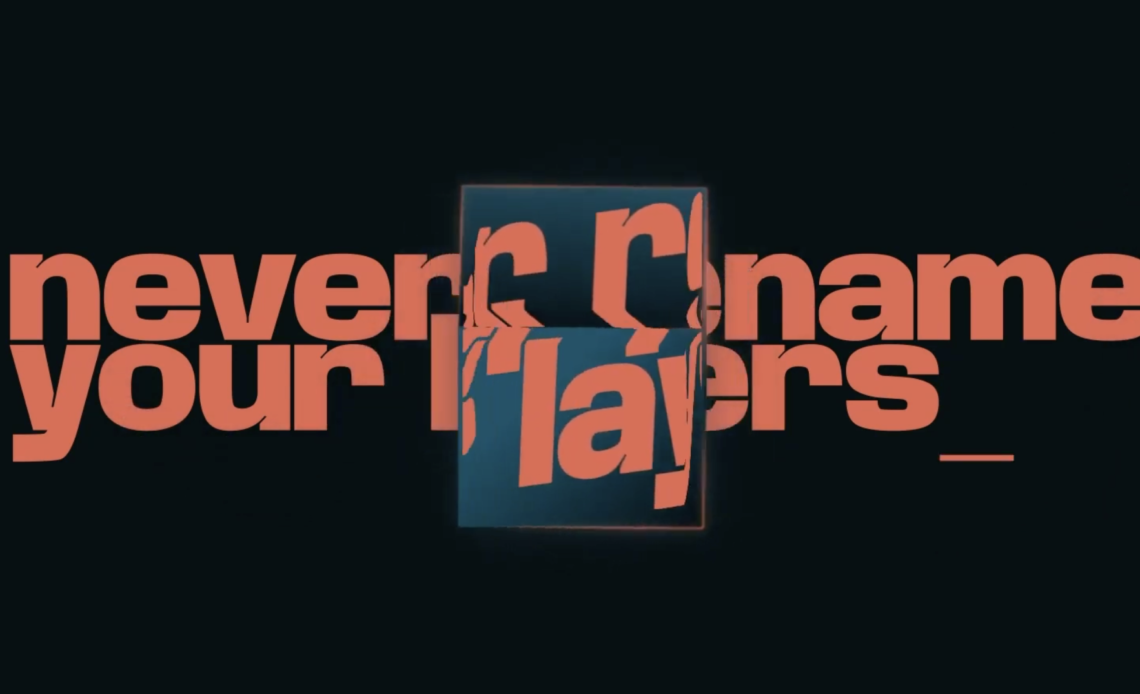
Transparency distortion is a powerful effect in motion graphics and visual effects, allowing designers to create glass-like refractions, heat waves, liquid effects, and dynamic warping. Whether you’re working on a quick project or need a more advanced distortion, After Effects provides multiple techniques to achieve professional results.
In this step-by-step guide, we’ll explore three different approaches to creating transparency distortion effects in After Effects. By the end of this tutorial, you’ll understand how to: 


Let’s get started!
Method 1: Basic Transparency Distortion Using Adjustment Layers
The first method is a quick and easy system to create a transparency distortion effect, perfect for fast motion graphics projects.
Step 1: Create an Adjustment Layer
- Open Adobe After Effects and create a new composition (1920x1080px, 30 fps).
- Add a new Adjustment Layer (Layer > New > Adjustment Layer).
- Select the Ellipse Mask Tool (Q) and draw a circle at the center of the composition.
- Feather the mask slightly by expanding the Mask Feather value to 10px-20px.
Step 2: Apply the Fast Box Blur Effect
- Select the Adjustment Layer.
- Go to Effects > Blur & Sharpen > Fast Box Blur.
- Set the Blur Radius to around 30px.
- Enable the Repeat Edge Pixels option.
Step 3: Add a Highlight Border for Realism
- Create a New White Solid Layer.
- Copy and paste the Adjustment Layer Mask onto the new solid layer.
- Shrink the mask size slightly (Mask Expansion: -10px).
- Set the mask mode to Subtract.
- Adjust the opacity of the white solid to around 40%.

This technique creates a quick glass distortion effect that is great for UI animations, futuristic HUDs, or soft focus transitions.
Method 2: Distortion with Dynamic Masking and Mattes
This technique is perfect for text animations, shape distortions, and interactive elements.
Step 1: Duplicate and Create a Matte Layer
- Select the text layer or shape layer that you want to distort.
- Duplicate the layer (Ctrl + D / Cmd + D on Mac).
- Remove all existing masks from the duplicated layer.
- Set the top layer as a Track Matte for the duplicated layer (Alpha Matte).
Step 2: Apply a Distortion Effect
- Select the duplicated text layer.
- Apply Effects > Distort > Turbulent Displace.
- Increase the Amount to 40-60.
- Set the Size to around 15-30px.
- Animate the Evolution property to create continuous distortion.
Step 3: Enhance the Effect with Blur & Choke
- Apply Effects > Matte > Simple Choker (set to 50px).
- Apply a slight blur using Effects > Blur > Gaussian Blur (set to 5-10px).

This method creates a rippled transparency effect, ideal for liquid text animations, heatwaves, and warped UI elements.
Method 3: Advanced Transparency Distortion Using Displacement Maps
For a more realistic and dynamic transparency distortion, the Displacement Map effect is the best technique.
Step 1: Create a Displacement Map Layer
- Create a New Solid Layer and set the color to 50% gray.
- Use the Ellipse Tool (Q) to create a circular mask.
- Apply Layer Styles > Bevel & Emboss to add depth.
- Adjust the Size and Intensity to enhance the effect.
Step 2: Precompose and Parent the Displacement Map
- Precompose the gray solid layer (Move All Attributes option selected).
- Parent the gray shape to a Null Controller for animation control.
Step 3: Apply the Displacement Map Effect
- Select the text or shape layer you want to distort.
- Apply Effects > Distort > Displacement Map.
- Set the Displacement Map Layer to the gray solid precomp.
- Adjust the Horizontal & Vertical Displacement to 30-50.

Step 4: Adding Shadows & Highlights for Depth
- Add a Drop Shadow Layer Style to the text layer.
- Apply a Curves Adjustment Layer to fine-tune the brightness.
This technique creates a glass-like refraction effect, perfect for water ripples, sci-fi UI, and motion blur distortions.
Combining Techniques for a More Dynamic Effect
You can combine these three techniques to create even more complex transparency distortions. Here’s an advanced approach:
Step 1: Use Displacement Maps for the Main Distortion
- Apply Method 3 (Displacement Maps) to the main element.
Step 2: Enhance with Blur & Matte Masking
- Overlay Method 2 (Turbulent Displace + Choker) on top.
Step 3: Add a Highlight Layer for Realism
- Use Method 1 (Adjustment Layer + Box Blur) to create subtle lighting effects.
By layering these effects, you can create highly realistic transparency distortions with depth, texture, and motion.
Final Touches: Styling & Animation Tips
To polish your distortion effect, follow these final enhancements:
1. Color Adjustments
- Apply Hue/Saturation Adjustments to fine-tune colors.
- Use Gradient Maps for stylized distortion effects.
2. Motion Blur & Easing
- Enable Motion Blur for a natural look.
- Use Graph Editor to adjust easing curves for smooth transitions.
3. Exporting Your Animation
- For Web & Social Media: Export as H.264 MP4 (smaller file size).
- For High-Quality Output: Export as ProRes or PNG Sequence.
- For Transparent Background: Use QuickTime with Alpha Channel.
Conclusion
By mastering these three transparency distortion techniques, you can create high-quality motion graphics that stand out. Here’s a quick recap:


Experiment with these techniques and mix them to create unique and eye-catching visuals. Whether you’re working on motion graphics, UI animations, or VFX, these distortion methods will take your designs to the next level!


