Creating eye-catching product advertisements in Photoshop is essential for branding, marketing, and commercial design. In this guide, we will learn how to design a spicy advertising visual from scratch, using professional photo manipulation techniques to bring a product to life. This tutorial focuses on lighting, color theory, composition, and visual effects to create a fiery and energetic design.
Step 1: Understanding the Concept
Before diving into Photoshop, it’s crucial to define the concept and mood of the advertisement.
The Idea Behind the Design
- The advertisement is for a hot chili sauce brand, and the goal is to visually communicate heat, spice, and intensity.
- The color scheme will use fiery red, orange, and yellow tones to reinforce the idea of spiciness.
- The background and visual elements will include fire, smoke, sparks, and motion effects to enhance the energy of the composition.
Tip: Always collect references and inspiration before starting a project to get a better understanding of the mood and layout.
Step 2: Setting Up the Background
Creating a Fiery Background
- Open Photoshop and create a new document (1920×1080 px, 300 dpi).
- Add a Solid Color Adjustment Layer and choose a deep, saturated red.
- Create another Solid Color Adjustment Layer with a bright orange-yellow color.
- Invert the mask (Ctrl + I) and use a soft round brush to paint a spotlight effect from the top.
- Transform the spotlight using Ctrl + T to adjust its shape, creating a natural light fade.
Pro Tip: Using highly saturated, vibrant colors ensures that the advertisement catches attention instantly.
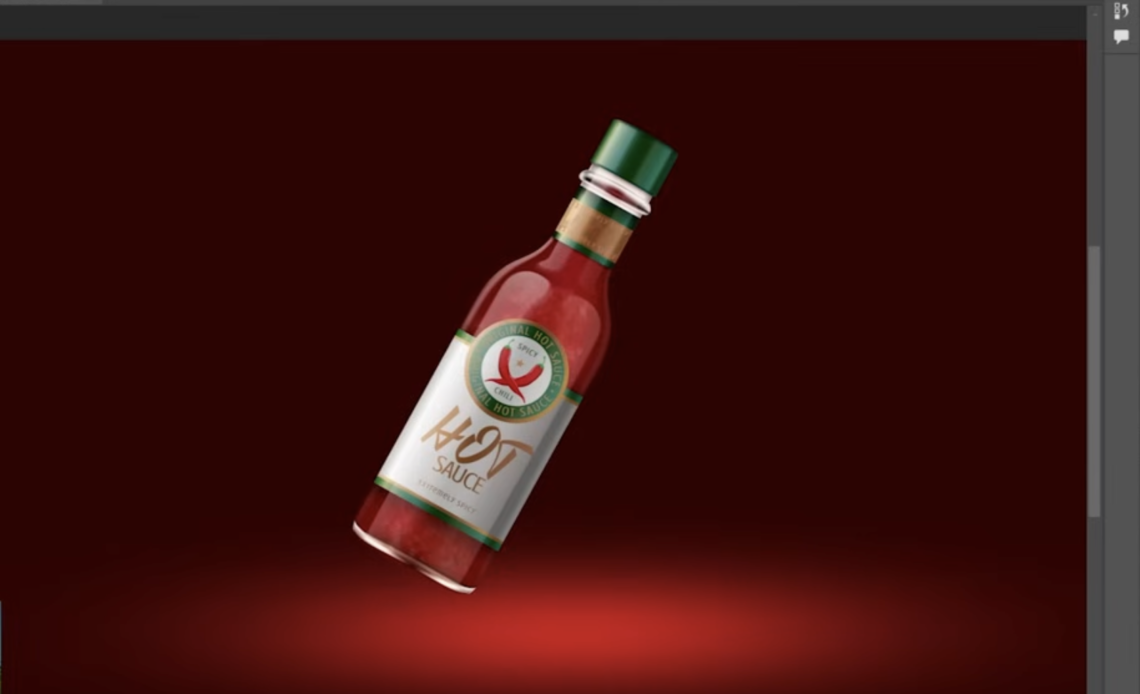
Step 3: Adding the Product (Chili Sauce Bottle)
Importing and Placing the Bottle
- Import the high-quality product image (chili sauce bottle) into the composition.
- Ensure the product is a high-resolution retouched image or 3D render for a polished look.
- Use Pen Tool (P) or Select Subject to remove the background.
- Position the bottle in the center and slightly tilt it for a dynamic feel.
Creating Shadows for Realism
- Create a new layer below the bottle.
- Select a dark red or black color and paint a soft shadow under the bottle using a soft round brush.
- Use Warp Tool (Edit > Transform > Warp) to shape the shadow so that it appears sharp at the base and fades out.
- Apply Gaussian Blur to soften the edges and set the layer mode to Multiply.
Tip: Duplicate the shadow and reduce its opacity to create a contact shadow, making the product appear more grounded.
Step 4: Enhancing the Lighting and Shadows
Creating the Bottle’s Shadows
- Add a Curves Adjustment Layer above the bottle and darken the midtones.
- Clip the layer to the bottle by Alt + clicking between layers.
- Invert the mask (Ctrl + I) and paint shadows along the bottle’s edges, keeping the center brighter.
Adding Rim Lights
- Create a new layer and set its blending mode to Linear Dodge (Add).
- Pick a warm orange color and use a small brush to paint thin highlights along the bottle’s edges.
- Reduce Opacity and Flow to blend the highlights naturally.
Pro Tip: Rim lighting enhances three-dimensionality and gives the product a premium look.
Step 5: Creating the Fiery Atmosphere
Adding Smoke Effects
- Import a smoke overlay and place it behind the bottle.
- Set the blending mode to Screen to remove the black background.
- Adjust the hue to orange-red using Hue/Saturation (Ctrl + U).
- Mask unwanted areas using a soft brush.
Adding Sparks and Fire Elements
- Import a spark overlay and place it around the bottle.
- Set the blending mode to Screen to integrate it with the background.
- Use the Warp Tool to adjust the direction of the sparks for natural motion.
- Import fire textures and blend them into the scene using Overlay or Screen blending mode.
Tip: Fire and smoke should flow in the same direction to create a sense of natural movement.
Step 6: Enhancing the Product Colors
Adjusting the Color Balance
- Create a Color Balance Adjustment Layer and clip it to the bottle.
- Increase reds and yellows in the midtones and highlights.
- Slightly adjust the shadows to a cooler tone for contrast.
Adding Additional Glow
- Create a new Solid Color Adjustment Layer with an orange-red hue.
- Set the blending mode to Screen and invert the mask.
- Use a soft brush to lightly paint glowing areas near the bottle and flames.
Step 7: Integrating Foreground Elements
Adding Floating Chili Peppers
- Import chili pepper images and position them around the bottle.
- Apply Motion Blur (Filter > Blur > Motion Blur) to some peppers for depth.
- Use Curves and Hue/Saturation to match their colors to the scene.
Adding More Smoke and Sparks
- Duplicate smoke layers and slightly blur them to create more atmosphere.
- Adjust opacity and layer order to avoid overcrowding the composition.
Step 8: Final Adjustments and Exporting
Applying Overall Color Grading
- Open Camera Raw Filter (Shift + Ctrl + A).
- Adjust Exposure, Contrast, and Highlights to make the composition pop.
- Increase Clarity and Texture for sharpness.
- Use Split Toning to enhance the fiery glow.
Sharpening the Final Design
- Merge visible layers into a new one (Shift + Ctrl + Alt + E).
- Apply High Pass Filter (Filter > Other > High Pass).
- Set blending mode to Overlay and reduce opacity if needed.
Exporting for Print and Web
- For print: Export as TIFF or PSD with 300 dpi resolution.
- For web: Export as JPEG or PNG with 72 dpi.
Conclusion: Creating a Professional Spicy Product Advertisement
By following these steps, we’ve created a high-quality advertising design for a spicy chili sauce product. This tutorial covered: ✅ Background setup with fiery tones ✅ Lighting and shadow techniques ✅ Smoke, fire, and spark effects ✅ Color grading for a cohesive look ✅ Foreground elements for depth
This process applies to any product advertisement, whether it’s food, beverages, or cosmetics. Experiment with colors, lighting, and effects to create stunning commercial designs.