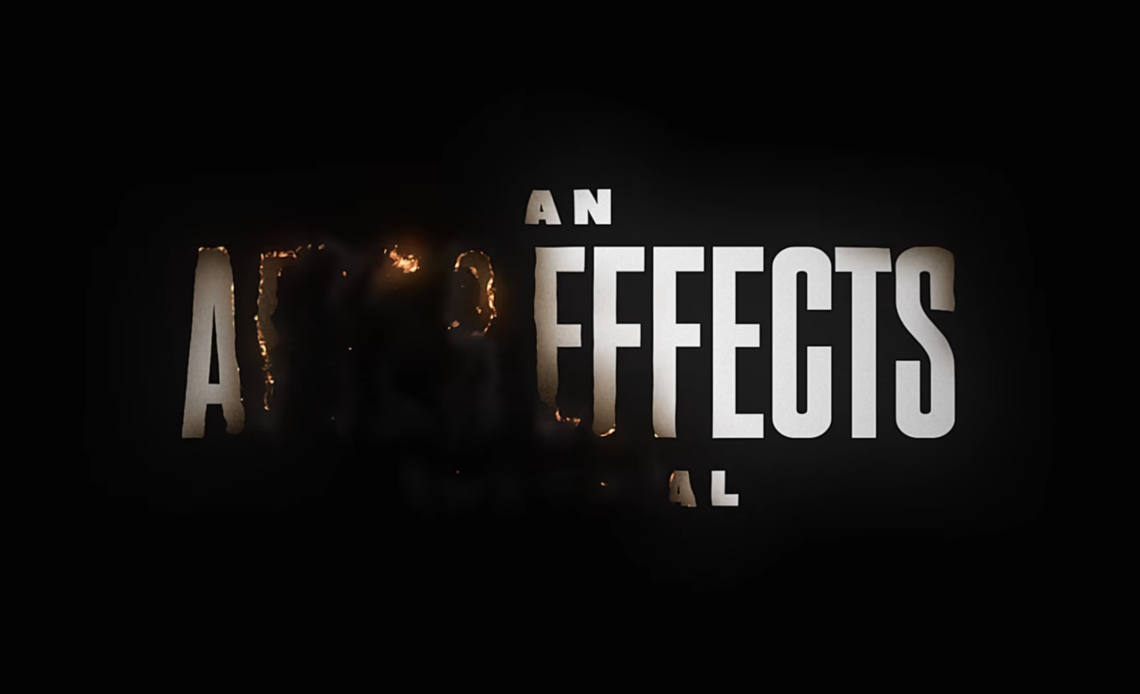
In this tutorial, we’ll walk through creating an advanced burn effect in Adobe After Effects, without using any third-party plugins. This fiery effect includes glowing edges, burning embers, drifting smoke, and realistic heat distortion, all built with native After Effects tools.
This guide is structured to start with the basics and progressively add more details, ensuring a highly dynamic and customizable fire transition. Whether you’re working with text, images, or logos, you can follow along to create a stunning burning effect that can be used for motion graphics, title sequences, or VFX projects. Let’s get started!
Step 1: Setting Up the Composition
- Create a New Composition:
- Go to Composition > New Composition
- Use the HD 1080 24fps preset
- Set the duration to 150 frames
- Name it Main Comp
- Add a Black Background:
- Create a new solid (Layer > New > Solid)
- Set the color to black
- Rename it Background
- Create the Burn Object:
- Use the Text Tool (Cmd/Ctrl + T) to type any text
- Choose a bold font (Castle Press No. 2 or similar)
- Optionally, add a second text layer to see how the effect works on multiple elements
- Select both text layers and pre-compose them (Cmd/Ctrl + Shift + C)
- Name it Burn Objects
- Add Texture to the Text:
- Inside the Burn Objects pre-comp:
- Create a new Adjustment Layer
- Apply Fractal Noise (Effects > Noise & Grain > Fractal Noise)
- Settings:
- Contrast: 10
- Brightness: 30
- Scale: 3
- This adds a subtle papery texture to the text
- Inside the Burn Objects pre-comp:
Step 2: Creating the Transition Matte
A transition matte will control how the fire effect moves across the text.
- Create a New Composition:
- Name it Transition Matte
- Add a new solid (color: white)
- Apply Burn Film Effect:
- Go to Effects > Stylize > CC Burn Film
- Keyframe the Burn property:
- Frame 30: 0% (start transition)
- Frame 130: 100% (full burn)
- Ensure a Smooth Transition:
- Add Solid Composite (Effects > Channel > Solid Composite)
- Set it to black to avoid transparency issues
- Increase Size and Randomize Burn:
- Scale the layer 200%
- Move it around for different transition positions
- Change the Random Seed to vary the burn effect
- Enhance Contrast:
- Add Brightness & Contrast (Effects > Color Correction)
- Enable Use Legacy
- Set Contrast to 99% for sharper edges
Step 3: Applying the Burn Effect
Now, we’ll apply the transition matte to the burn object.
- Back in Main Comp, drag the Transition Matte layer into the timeline
- Use it as a Luma Matte:
- Select the Burn Objects layer
- Apply Set Matte (Effects > Channel > Set Matte)
- Choose Transition Matte as the source
- Set to Luminance
This makes the burn transition follow the transition matte.
Step 4: Adding a Darkened Burn Edge
- Duplicate the Transition Matte layer
- Rename it “Darken Burn”
- Blur and Darken the Edge:
- Add Fast Box Blur (Effects > Blur & Sharpen)
- Set Blur Radius: 30px
- Enable Repeat Edge Pixels
- Set Blending Mode: Linear Burn
- Adjust Levels for Depth:
- Apply Levels (Effects > Color Correction)
- Increase Gamma to 0.6
- Add Burnt Color:
- Apply Hue/Saturation (Effects > Color Correction)
- Enable Colorize
- Set:
- Hue: 30°
- Saturation: 15
- Brightness: 15
Step 5: Adding a Fiery Edge
- Duplicate the Transition Matte layer
- Rename it “Fire Edge”
- Invert & Multiply:
- Add Invert (Effects > Channel)
- Apply CC Composite (Effects > Channel)
- Set Blending Mode to Multiply
- Add Turbulent Displace for distortion
- Add Glow and Color:
- Apply Tritone (Effects > Color Correction)
- Set:
- Midtones: #8D3F18 (orange)
- Highlights: #FFD83 (yellow)
- Add Glow (Effects > Stylize)
- Set:
- Radius: 50
- Intensity: 3
Step 6: Adding Smoke and Embers
Smoke
- Duplicate the Transition Matte layer
- Rename it “Smoke”
- Apply Wide Time Effect:
- Set Forward Steps: 0
- Set Backward Steps: 20
- Blur & Add Fractal Noise:
- Apply Fast Box Blur: 10px
- Add Fractal Noise (Dynamic, Scale: 300%, Complexity: 10)
- Apply Turbulent Displace (Twist, Size: 30)
- Animate Evolution:
- Use Expression:
time * 200
- Use Expression:
- Set Blending Mode: Screen
Embers
- Duplicate the Transition Matte layer
- Rename it “Embers”
- Apply Wide Time Effect (Backward Steps: 60)
- Crush Blacks with Brightness/Contrast
- Apply Small Fractal Noise & Glow
- Set Blending Mode: Screen
Step 7: Adding Heat Distortion
- Duplicate the Transition Matte layer
- Rename it “Displacement Reference”
- Apply Effects:
- Fast Box Blur: 25px
- Invert (Effects > Channel)
- Fractal Noise (Complexity: 4)
- Create an Adjustment Layer
- Apply Displacement Map:
- Reference: Displacement Reference
- Horizontal: 20, Vertical: 10
Step 8: Final Touches
- Add a Soft Glow:
- Apply Gaussian Blur (200px) to a new adjustment layer
- Set Blending Mode to Screen (Opacity: 15%)
- Add Camera Drift:
- Apply Transform Effect
- Animate Scale from 110% to 100%
- Add Film Grain & Vignette:
- Apply Noise (5%)
- Apply Gaussian Blur (2px)
- Apply Unsharp Mask (100%)
Conclusion
With this setup, you can apply the burn effect to any artwork, text, or image. Simply replace the Burn Objects pre-comp with any new design, and the fire will react accordingly. Experiment with different settings and make it your own!