Adobe Photoshop offers powerful tools for creating unique text effects, making designs stand out with professional-quality typography. In this tutorial, we’ll create three amazing text effects using Clipping Masks and Layer Masks.
By the end of this guide, you’ll learn how to:
- Clip an image to text for a stylish, integrated look.
- Use Layer Masks to remove or reveal parts of an image for artistic effects.
- Create shadows and highlights to enhance depth and realism.
Whether you’re a beginner or an experienced designer, this guide will help you master these Photoshop techniques effortlessly.
Understanding Photoshop Masking Techniques
Before jumping into our design tutorials, let’s briefly discuss the fundamental techniques we’ll be using:
What is a Clipping Mask?
A Clipping Mask in Photoshop allows one layer to take the shape of another layer below it. This technique is commonly used for placing images inside text or shapes.
- The top layer is clipped to the bottom layer, conforming to its shape.
- Non-destructive method, meaning the original image remains intact.
What is a Layer Mask?
A Layer Mask lets you selectively hide or reveal parts of a layer without permanently deleting anything.
- Black hides parts of the layer.
- White reveals parts of the layer.
- Great for creating soft transitions and effects.
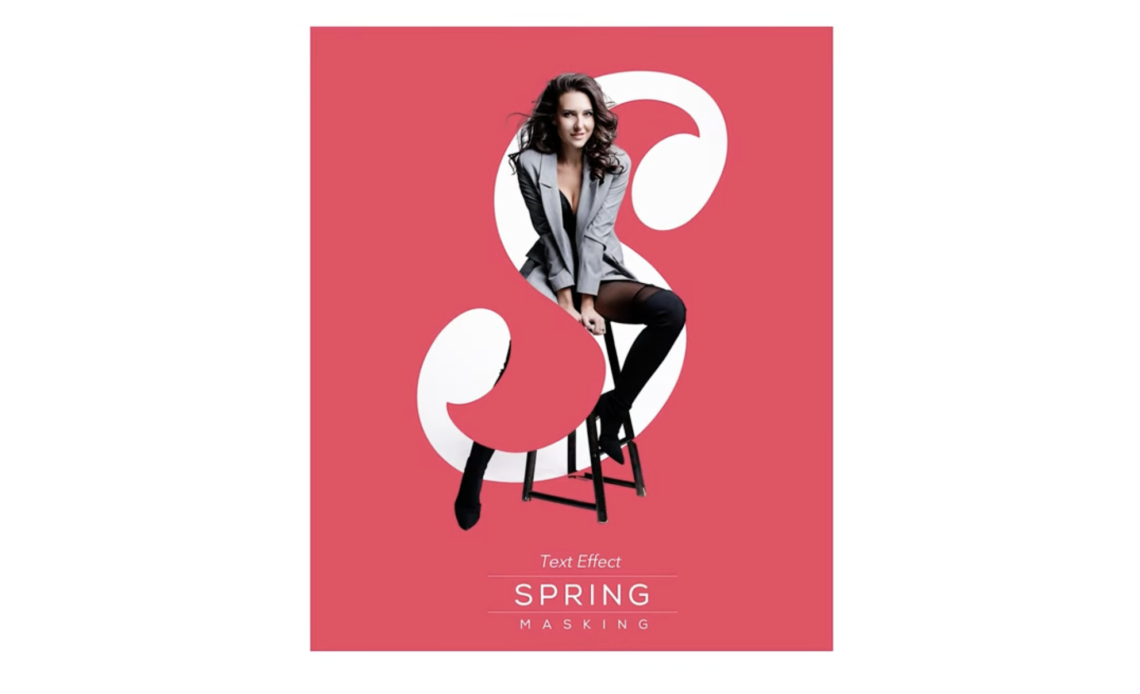
Design 1: Image Clipped to Text
Step 1: Setting Up the Background
- Open Adobe Photoshop and create a new document (1920×1080 pixels recommended).
- Select the Artboard Tool, click the + button to add a new artboard.
- Import a background image by dragging and dropping it onto the canvas.
- Resize and position the image, then press Enter.
Step 2: Adding the Text
- Select the Text Tool (T) and type your desired letter (e.g., “S”).
- Choose a bold, readable font like Criss Regular Person.
- Adjust the size using Command + T (Mac) / Control + T (Windows) to fit the design.
- Position the text in the center of the artboard and press Enter.
Step 3: Applying the Clipping Mask
- Drag the image above the text layer in the Layers Panel.
- Right-click on the image layer and choose Create Clipping Mask.
- The image will now take the shape of the text.
- Adjust the image placement within the text by selecting the Move Tool (V).
Step 4: Refining the Design
- Select the Rectangle Tool (U) and draw a background shape behind the text.
- Change the shape’s Fill Color to a matching color (e.g., #D3E57).
- Drag the shape layer below the text and image layers in the Layers Panel.
- Use Curves Adjustment Layer to tweak brightness and contrast for better blending.
- Save your work!
Design 2: Layer Mask Effect for Revealing Parts of an Image
Step 1: Creating a New Artboard
- Click the Artboard Tool and add a new artboard.
- Import a new background image.
- Resize the image and press Enter.
Step 2: Removing the Background
- Duplicate the image layer.
- Use Select > Subject to automatically select the main subject.
- Click on Remove Background under the Properties Panel.
- If Photoshop struggles, use an online AI background remover (e.g., ClipDrop).
- Save the extracted image and import it back into Photoshop.
Step 3: Adding Text and Applying a Layer Mask
- Use the Text Tool (T) to type a new word (e.g., “H”).
- Choose a stylish font like Sign Painter and resize it.
- Position the text layer above the extracted image.
- Right-click on the text layer and select Create Layer Mask.
- Select the Brush Tool (B), set the foreground color to black, and paint over areas to reveal the underlying image.
Step 4: Enhancing the Design
- Use the Curves Adjustment Layer to fine-tune brightness and contrast.
- Add a colorful rectangle shape behind the text for better visibility.
- Save your design!
Design 3: Advanced Layer Mask and Shadow Effects
Step 1: Importing Multiple Images
- Click Artboard Tool and create a new artboard.
- Import three images, placing them side by side.
- Resize and position them to fit the text layout.
Step 2: Adding Text and Masking the Image
- Use the Text Tool (T) to type “WOW” or any word of your choice.
- Set the font to Avenue Heavy for a bold effect.
- Position the text over the images.
- Select all image layers and press Command + G (Mac) / Control + G (Windows) to group them.
- Right-click the text layer and select Create Clipping Mask to apply the images within the text.
Step 3: Refining the Details
- Select the Brush Tool (B) and paint over unwanted areas in the mask.
- Adjust opacity and blending modes to create a seamless effect.
- Use the Eraser Tool (E) to soften sharp edges if necessary.
Step 4: Adding Shadows for Depth
- Duplicate the image group and convert it into a Smart Object.
- Move the duplicate below the main image.
- Press Command + T (Mac) / Control + T (Windows) and slightly distort the shape to simulate a shadow.
- Apply Filter > Blur > Tilt Shift to blur the shadow slightly.
- Lower the opacity and adjust the blending mode to make it more realistic.
- Add a Gradient Overlay to fade the shadow naturally.
Step 5: Final Adjustments
- Use Curves Adjustment Layer to enhance contrast.
- Add subtle gradient overlays for a professional touch.
- Save your final design!
Conclusion
By following this step-by-step tutorial, you’ve learned how to create three stunning Photoshop text effects:
- Clipping Mask Effect – Integrating an image within text.
- Layer Mask Effect – Revealing parts of an image for artistic effects.
- Advanced Masking and Shadows – Creating a professional 3D illusion.
These techniques are widely used in graphic design, advertising, and branding. You can experiment with different fonts, images, and colors to create your own unique variations.
If you found this tutorial helpful, like, share, and subscribe for more Photoshop tips and design inspiration!