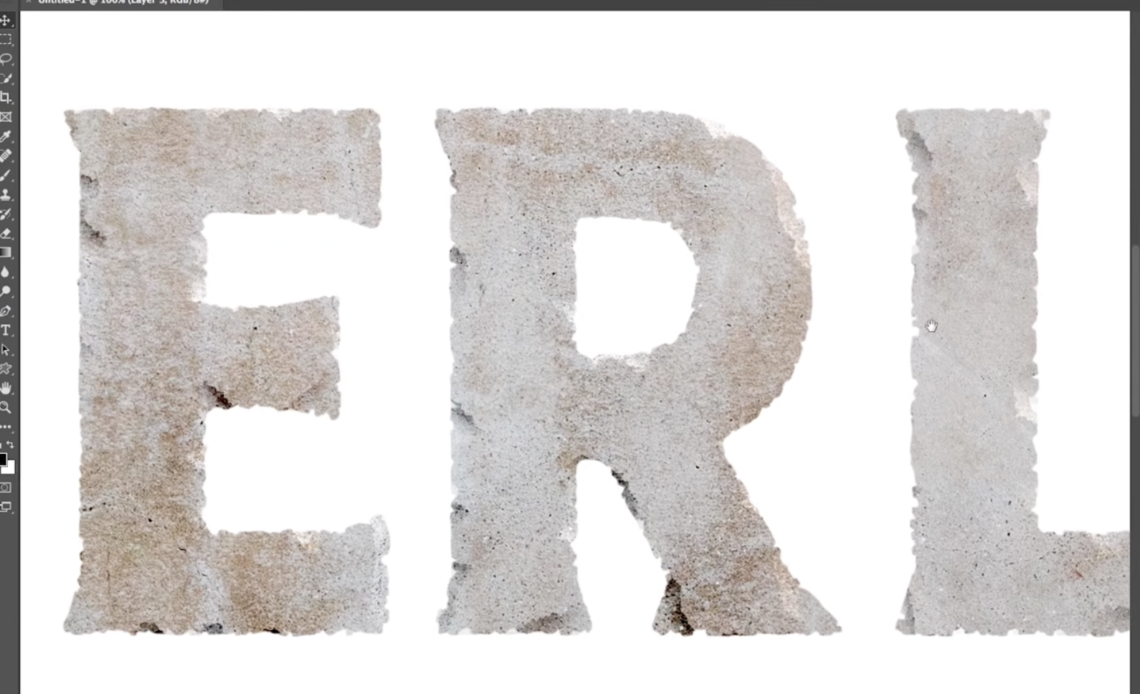
Creating a carved stone or concrete text effect in Photoshop is a great way to add depth and realism to your designs. Instead of using Photoshop’s 3D workspace, which can be rigid and complex, we will manually craft a realistic stone effect with textures, masks, and layer styles.
By following this tutorial, you will learn: ✅ How to roughen text edges for an authentic stone look
✅ How to create realistic shadows and depth
✅ How to apply textures and lighting for maximum realism
Let’s get started! 🎨🖌️
Step 1: Setting Up the Document
- Open Photoshop and create a New Document.
- Set the dimensions to 3840×2160 pixels (4K resolution for high detail).
- Choose a white background.
Step 2: Adding the Text
- Select the Type Tool (T) and type your text.
- Use a bold, heavy font like Chuck Noon for the best stone effect.
- Press
Ctrl + Enter(Windows) /Cmd + Return(Mac) to confirm the text. - Resize the text (
Ctrl + T/Cmd + T) and center it.
Step 3: Creating Rough Edges
To make the text look like real carved stone, we need to roughen the edges.
- Convert the text into a mask:
- Create a New Layer.
- Fill it with black using
Alt + Backspace. - Select the text layer and
Ctrl + Clickon the thumbnail to create a selection. - Hide the original text layer.
- Click Create Mask to apply the selection.
- Apply Roughness with Filters:
- Select the mask and go to
Filter > Filter Gallery > Brush Strokes > Spatter. - Set Spatter Size to
15and Smoothness to15. - Add a Stamp Filter (
Sketch > Stamp) with Light/Dark Balance at15.
- Select the mask and go to
Now, the edges are rougher and more organic.
Step 4: Creating Chipped and Cracked Details
- Apply the Crystallize Filter:
Filter > Pixelate > Crystallize.- Set Cell Size to
15. - This adds a chipped effect.
- Create Big Damage Areas:
- Duplicate the text layer (
Ctrl + J/Cmd + J). - Rename it “Destroy”.
- Apply
Crystallizeagain at a larger Cell Size (80). - Apply
Crystallizeagain at Cell Size (5) for smaller cracks. - Add Bevel and Emboss:
- Style: Outer Bevel
- Depth: 70
- Size: 50
- Highlight:
Color Dodge (20%) - Shadow:
Color Burn (60%) - Global Light:
60°
- Lower the Fill Opacity to
0%to keep only the carving effect.
- Duplicate the text layer (
Step 5: Applying Stone Texture
- Open a high-resolution stone texture (e.g.,
Concrete121from TextureLabs). - Copy (
Ctrl + A,Ctrl + C) and paste it above the text layer. - Create a Clipping Mask (
Alt + Clickbetween layers). - Adjust the Blending Mode to Linear Burn.
- Lower Opacity to 30% for better integration.
Now, the text looks like real stone! 🏛️
Step 6: Creating the 3D Extruded Effect
- Duplicate the “Face” Layer and rename it “Edge”.
- Move Edge below Face.
- Select Transform (
Ctrl + T/Cmd + T) and scale it down slightly. - Paint missing parts manually using the Brush Tool (B).
- Add Bevel & Emboss for Depth:
- Depth: 300
- Size: 70
- Highlight: 20% (Color Dodge)
- Shadow: 60% (Color Burn)
- Gloss Contour: S-Curve
Now, the text has realistic depth! 🏗️
Step 7: Creating Realistic Shadows
1. Cast Shadows
- Duplicate Edge layer.
- Rename it “Cast Shadow”.
- Fill with Black (
Shift + F5). - Apply Path Blur:
Filter > Blur Gallery > Path Blur- Change Type to Rear Sync Flash
- Adjust Speed to 150 and End Point Speed to 200
- Angle the blur to match light direction
- Set Blending Mode to Multiply.
2. Light Bounce (Subtle Glow)
- Duplicate Cast Shadow and rename “Light Bounce”.
- Fill background with White (
Shift + F5). - Invert (
Ctrl + I/Cmd + I). - Set Blending Mode to Color Dodge.
- Lower Fill Opacity to 20%.
This makes the edges glow naturally, just like real stone! 🔥
Step 8: Final Adjustments
- Add Global Contrast:
- Create a Levels Adjustment Layer.
- Adjust:
- Black Point:
18 - White Point:
244 - Midpoint:
0.9
- Black Point:
- Refine Background:
- Copy a stone texture and place it at the bottom.
- Adjust Brightness & Contrast for better contrast with the text.
Conclusion
🎉 Congratulations! You’ve created a realistic carved stone text effect in Photoshop.


