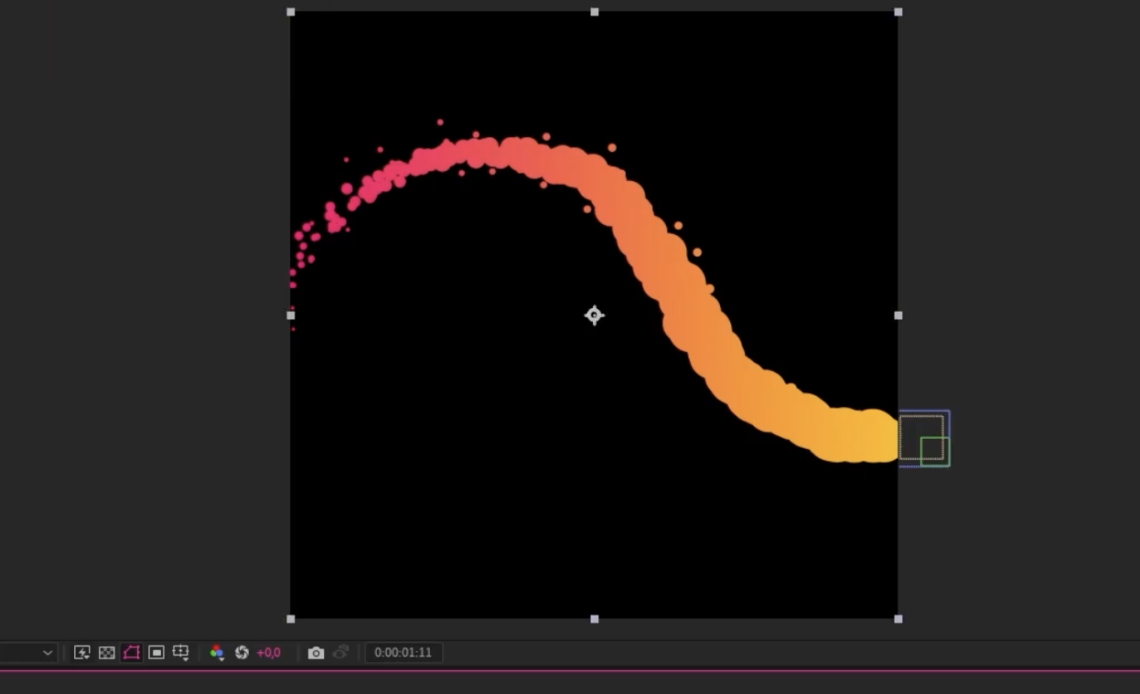
Creating a realistic smoke trail in After Effects can take your motion graphics to the next level. Whether you’re animating rocket thrusters, magic effects, or atmospheric smoke, mastering the particle system is the key to achieving organic, fluid movement.
In this tutorial, you’ll learn how to: ✅ Use Particle Systems 2 to generate a smoke effect.
✅ Adjust physics settings for natural smoke behavior.
✅ Apply gradient color overlays to enhance realism.
✅ Use Fast Box Blur and Roughen Edges for added detail.
By the end of this tutorial, you’ll have a stunning smoke animation that looks professional and dynamic! 🎨🔥
Step 1: Setting Up the Composition
- Open After Effects and create a New Composition.
- Set the resolution to 1920×1080 and frame rate to 30 FPS.
- Create a Background:
- Go to
Layer > New > Solid. - Name it Background, set it to black, and place it at the bottom.
- Go to
Step 2: Creating the Particle Emitter
- Create a New Solid:
- Go to
Layer > New > Solid. - Name it Emitter.
- Make sure it’s the comp size and hit OK.
- Go to
- Apply Particle Systems 2:
- Go to
Effects > Simulation > CC Particle Systems 2. - This effect will generate our smoke particles.
- Go to
Step 3: Configuring the Particle Producer
- Attach the Particles to an Object:
- If you have a moving object (e.g., a rocket or a planet), create a Null Object (
Layer > New > Null Object). - Position it where you want the smoke to start.
- Select the Emitter Layer, press
Eto reveal effects, and pickwhip (Alt + Click) the Position of the Producer to the Null Object.
- If you have a moving object (e.g., a rocket or a planet), create a Null Object (
- Adjust the Emitter Settings:
- Radius X & Y: Set both to
0to create a single point of emission. - Position: Animate this along your object’s path to follow the motion.
- Radius X & Y: Set both to
Step 4: Adjusting the Particle Appearance
- Change Particle Type:
- Under Particle Settings, switch from Line to Lens Convex.
- This creates a soft, rounded smoke effect.
- Modify Opacity and Size:
- Set Max Opacity to
100%. - Change Opacity Map to Constant.
- Adjust Birth Size to
0.9and Death Size to0for a natural fade-out.
- Set Max Opacity to
Step 5: Adjusting the Smoke Physics
This is where the magic happens! 🌫️
- Change the Animation Type:
- Set Animation to Fire (this automatically reverses gravity to make particles rise).
- Adjust Gravity and Resistance:
- Increase Resistance to
100for a slower, more natural smoke drift. - Adjust Gravity to make particles rise realistically.
- Increase Resistance to
- Control Birth Rate & Longevity:
- Birth Rate:
1.0(controls density of the smoke). - Longevity:
1.5(determines the length of the smoke trail).
- Birth Rate:
Now, we have a basic smoke trail, but let’s add depth and variation! 🎨
Step 6: Adding Color and Texture
- Apply a Gradient Overlay:
- Copy a Gradient Ramp from another layer or create one (
Effect > Generate > Gradient Ramp). - Adjust colors to soft gray to light blue for a natural smoky look.
- Copy a Gradient Ramp from another layer or create one (
- Add Secondary Particle Layer:
- Duplicate the Emitter Layer (
Ctrl + D). - Reduce Birth Rate to
0.2. - Increase Longevity to
2.0. - Set Producer Radius X & Y to
8(adds small offshoots for realism). - Change Birth Size to
0.2(for fine smoke details).
- Duplicate the Emitter Layer (
These changes create complex, organic movement, making the smoke more dynamic. 🎨🔥
Step 7: Refining the Smoke Trail with Effects
1. Apply Fast Box Blur
- Add an Adjustment Layer (
Layer > New > Adjustment Layer). - Move it below your moving object.
- Apply
Effect > Blur & Sharpen > Fast Box Blur. - Set Blur Radius to 5.
2. Enhance Edges with Levels
- Apply
Effect > Color Correction > Levels. - Change the Channel to Alpha.
- Adjust Input Black to 20 and Input White to 220.
- This increases contrast, making the smoke look more defined.
3. Smooth Out Harsh Edges with Roughen Edges
- Add
Effect > Stylize > Roughen Edges. - Reduce Fractal Influence to 0.
- Set Edge Sharpness to 0.4.
This final step creates smooth, organic edges that mimic real smoke movement. 🌫️
Step 8: Adding Final Touches
1. Duplicate and Pre-compose for Layer Effects
- Duplicate the Null Object and move it above all layers.
- Parent your moving object to this null.
- Pre-compose all layers into a single comp.
2. Add Inner Glow and Inner Shadow
- Select the Smoke Layer and go to
Layer > Layer Styles > Inner Glow. - Set Opacity to 50%, Size to 100px, and Source to Center.
- Add
Inner Shadowwith:- Opacity: 100%
- Angle: 300°
- Size: 30px
These settings enhance depth and realism. 🎨🔥
Conclusion
🎉 Congratulations! You’ve created a cinematic smoke trail using After Effects!


