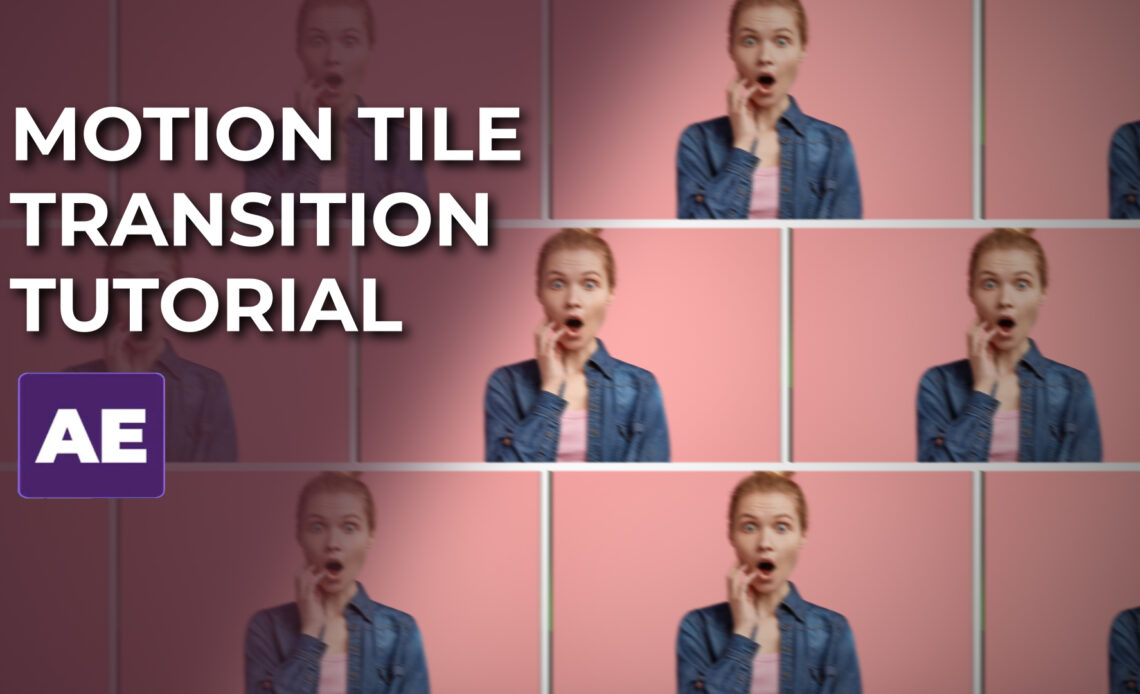
Hello, creative minds! Are you ready to add a touch of flair to your videos with mesmerizing motion dial transitions? In this tutorial, we’re diving into the realm of After Effects to master this unique effect that will captivate your audience. Without further ado, let’s embark on this creative journey and learn how to craft eye-catching motion dial transitions. Let’s jump right in!
Step 1: Setting Up the Composition
Begin by creating a new composition. I’ve named mine “Transition.” Set the composition dimensions to 1920×1080 pixels, with a duration of 18 seconds and a frame rate of 25 frames per second. This will provide a canvas for our creative transition.
Step 2: Adding the Adjustment Layer
We’ll start by adding an adjustment layer to the composition. Utilize the “Motion Dial” effect from the Effects & Presets panel to create the basis for our dynamic transition.
Step 3: Importing Images
Import the images you intend to use for your transition. In this tutorial, I’ve gathered my images from pixels.com, a fantastic resource for free visuals. These images will be the foundation of our captivating transition.
Step 4: Marking the Transition
Setting markers is crucial to align the transition with your images. I’ve placed a marker on the adjustment layer and renamed it “Transition.” This ensures that our motion dial transition aligns seamlessly with the subsequent images.
Step 5: Adjusting the Transition Effect
Now, let’s adjust the settings for the motion dial effect. Begin by keyframing the Title Width and Title Height properties. Also, set keyframes for Face Angle and enable Horizontal Phase Shift for live results.
Step 6: Creating the Dynamic Effect
With the keyframes set, let’s create a dynamic effect. At the point where the transition starts, adjust the Title Width and Title Height to 35, creating a unique division into nine distinct screens. This change adds a captivating dynamic to the transition.
Step 7: Enhancing the Transition
Further enhance the transition’s dynamic appearance by altering the Phase Angle. Gradually shift it from 0 to 100 within one second. This change adds depth and intrigue to the motion dial effect. Apply the Easy Ease function to these keyframes for smooth animation.
Step 8: Introducing Motion Blur
Motion blur is essential for achieving realism in animation. Enable Motion Blur in the composition settings and witness how the edges of the transition become beautifully blurred during movement, enhancing the overall effect.
Step 9: Fine-Tuning the Effect
Experiment with the transition by tweaking properties like Title Height and Phase Angle. Modifying the Title Height to 20 will yield a transition divided into even more screens, adding complexity and visual interest.
Step 10: Transition in Multiple Scenarios
To reuse the transition in various instances within a single composition, follow this simple method. Create a new composition named “Main Composition” and add your images. Duplicate the transition composition to align with the timing of your images.
Master the Motion Tile Transition
Congratulations! You’ve successfully mastered the art of creating captivating motion dial transitions in After Effects. By following these steps, you’ve learned how to craft an effect that can elevate your videos to a new level of visual engagement. Whether you’re producing captivating presentations, dynamic storytelling, or engaging slideshows, the motion dial transition offers a unique touch. If you found this tutorial insightful, consider subscribing and sharing it with fellow creators. Armed with this newfound knowledge, go forth and mesmerize your audience with your own motion dial transitions. Happy creating!


