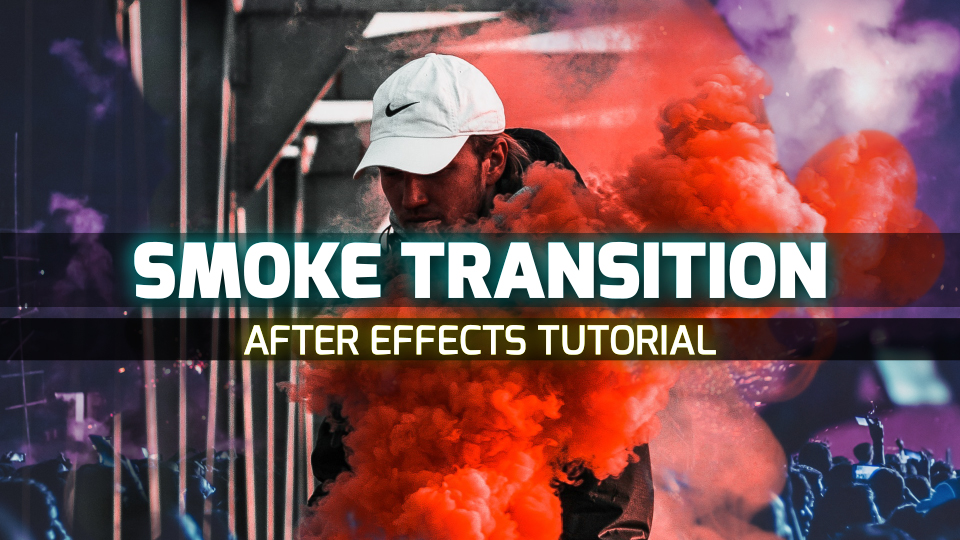
Smoke transitions add a touch of mystique to videos, seamlessly altering scenes as the smoke engulfs the screen. In this tutorial, we’ll delve into creating a captivating smoke transition effect in After Effects.
Step 1 Setting Up the Composition
Let’s start by creating a new composition and preparing the groundwork for our smoke transition effect:
- New Composition: Create a new composition named “Smoke Transition.”
- Composition Settings: Set the frame rate to 30 and adjust the duration to 6 seconds for a well-paced transition.
Step 2 Acquiring and Preparing Smoke Footage
Rather than creating smoke effects from scratch within After Effects, we’ll use ready-made smoke footage from pixels.com for a time-saving approach:
- Finding Smoke Footage: Search for smoke videos on pixels.com and download a suitable one.
- Import and Pre-Comp: Import the downloaded smoke video into After Effects. Resize the video to 1920×1080 and scale it to cover the screen adequately (e.g., increase it by 150%).
Step 3 Enhancing the Smoke Footage
To optimize the visual impact of the smoke footage, apply effects from the Effects and Presets panel:
- Black and White Effect: Implement a black and white effect to the smoke video.
- Adjust color settings: Red (135), Yellow (104), Green (140) to achieve the desired contrast.
- Invert Effect: Apply the invert effect to complement the transition’s aesthetics.
Step 4 Refining the Transition
To ensure the smoke transition seamlessly covers the intended duration:
- Trimming the Duration: Utilize Ctrl+Shift+E to split the transition. Remove excess parts and utilize Time Stretch to adjust the duration to 4 seconds.
- Pre-Composing: Rename the pre-composed smoke video to “Smoke Pre-Comp” for easier management.
- Incorporating Videos/Images: Import your videos or images to visualize the transition effect.
Step 5 Implementing the Smoke Transition
- Setting Blending Mode: Change the pre-comp mode to “Screen” or choose a suitable blending mode for the smoke transition to interact effectively with the underlying content.
- Testing and Customization: Verify the transition’s functionality by adding your content and adjusting as necessary to achieve the desired effect.
Conclusion
Crafting captivating smoke transitions in After Effects is achievable by leveraging ready-made smoke footage, enhancing it with effects, and seamlessly integrating it into your compositions. Feel free to experiment with different settings, durations, and additional effects to suit your video’s style.
If this tutorial proved helpful, consider subscribing for more insights, and don’t forget to share it with fellow creators. Stay tuned for more tutorials!


