In the world of video editing and motion graphics, creating visually striking title animations is an essential skill. Grunge-style titles, with their gritty and distressed appearance, can add a unique and edgy touch to your projects. In this tutorial, we’ll explore how to create a grunge title animation in Adobe After Effects, one of the industry’s leading software for motion graphics and visual effects.
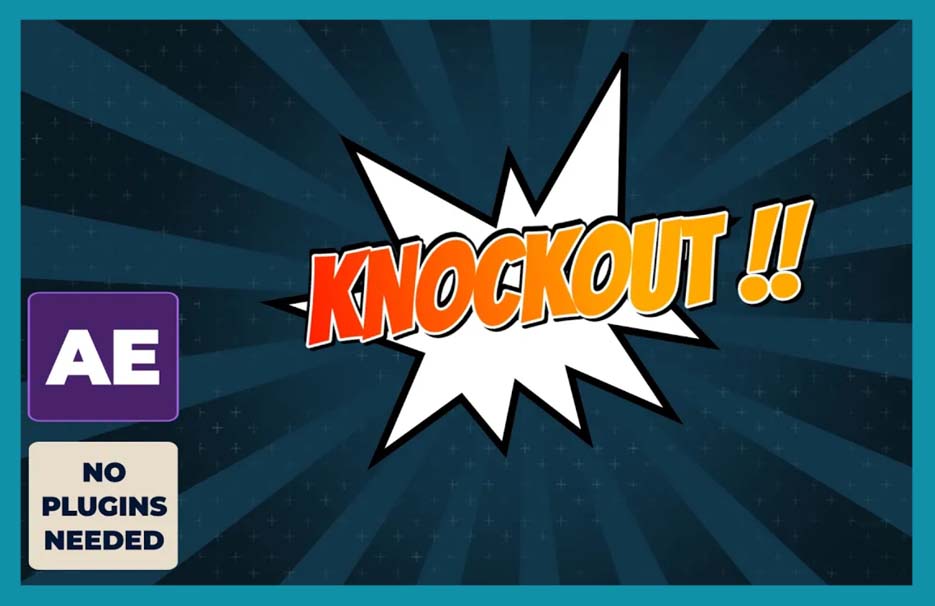
We will learn how to create a dynamic comic-style title animation using Adobe After Effects. So, let’s dive right in and get started!
Follow this Complete Tutorial as Youtube Video
Step 1: Creating the Background To begin
let’s create the background for our animation. We can create a new composition in After Effects or use an existing background from Adobe Illustrator. For this tutorial, we’ll create a simple background within After Effects.
Step 2: Adding Movement to the Background
To add movement to the background, we’ll rotate some shape layers. Create a null object and parent the shape layers to it. Apply keyframes to the null object’s rotation property to create a rotating effect.
You can also check the neon animation tutorial
Step 3: Applying Texture to the Background
To make the background more dynamic, let’s add a texture or noise effect. Pre-compose the background layers and add a new solid layer. Apply the Fractal Noise effect to the solid layer and adjust the settings to achieve the desired texture. You can also add an expression to the random seed property to create animated noise.
Step 4: Adding Additional Elements
To enhance the background further, we can add more elements. Create a new composition for these elements and use shape layers to create plus signs or other shapes. Experiment with colors, opacity, and scaling to achieve the desired effect. Apply the Motion Tile effect to create a repeating pattern, and pre-compose these elements.
Step 5: Composing the Background
Place the pre-composed background elements above the textured background composition to create the final background for our title animation.
Step 6: Creating the Text Box
In a new composition, create a solid layer and change its color. Use the Pen Tool to create a shape that will serve as the text box. Customize the shape according to your preference.
Step 7: Adding Text and Styling
Add a new text layer using a font like “Bangers” or any font that suits your comic style. Apply the Gradient Ramp effect to the text layer to give it a colorful appearance. You can also add a stroke and customize its color to enhance the text’s visibility. Pre-compose the text layer and apply the Shadow effect to create depth.
Step 8: Animating the Text
To animate the text and the shape layer, we can use a null object. Apply the desired animation to the shape layer, and then apply the same null object to the text layer. Parent the text layer to the null object and adjust the timing to make it appear slightly after the shape layer.
Step 9: Fine-Tuning the Animation
Review the animation and make any necessary adjustments. Tweak the keyframes to refine the timing and overall look of the animation.
Step 10: Final Touches
To add finishing touches, you can experiment with strokes, colors, and effects. Get creative and play around with different settings to achieve your desired comic-style title animation.
Congratulations! You have successfully created a comic-style title animation in Adobe After Effects. By following the steps outlined in this tutorial, you can now apply your newfound knowledge to create captivating titles for your videos. Also if you like you can also try the Tutorial about
Don’t forget to subscribe, like, and share this tutorial if you found it helpful. Stay tuned for more exciting tutorials, and see you in the next video!
You can also follow other tutorials too in order to get amazing effects and video animations in after effects.
Thanks!!!