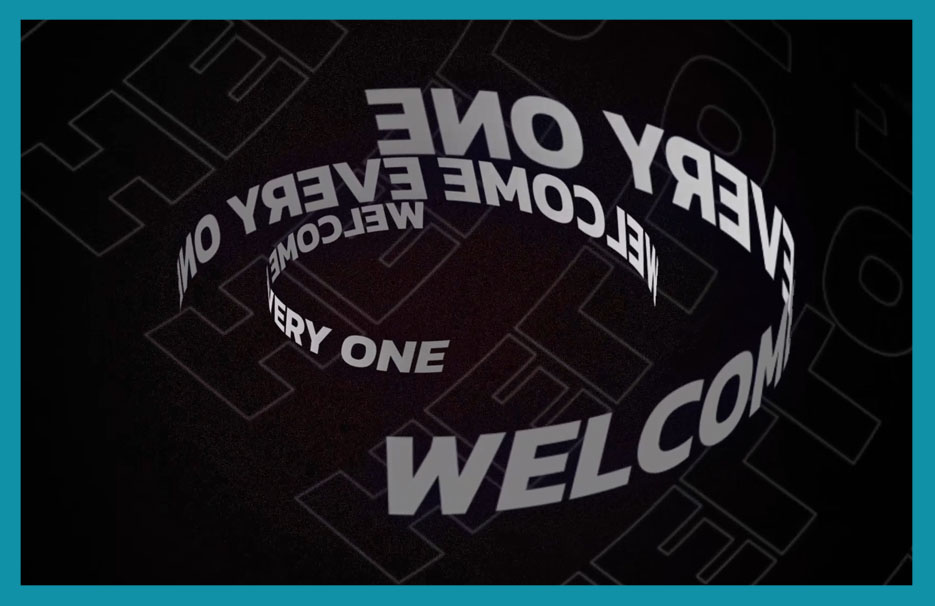
Welcome to my channel! In this video tutorial, we’ll explore how to create impressive text effects that you can incorporate into your After Effects projects. By following the step-by-step instructions, you’ll learn how to animate text, apply effects, and create dynamic compositions. Let’s dive in!
Follow this Complete Tutorial as Youtube Video
Step 1: Creating the Text Composition
To begin, let’s create a new composition for our text animation. Set the duration to 10 seconds, and choose a font like “Can it Bold” to give your text a stylish look.
Step 2: Adding the Typewriter Effect
Animate the text by adding a typewriter effect. Select the text layer and press ‘U’ to reveal the keyframes used in that layer. To create smooth transitions between keyframes, right-click and choose “Easy Ease” or press ‘F9’.
Step 3: Adjusting the Tracking
To enhance the animation, let’s make some changes. Add a new property called “Tracking” and set it to -68. Over a duration of three seconds, track it to zero. This will create an interesting tracking effect on the text.
Step 4: Applying the CC Cylinder Effect
To further enhance the text animation, pre-compose the composition and apply the CC Cylinder effect to it. Adjust the settings in the effect controls to achieve the desired look. Experiment with different values to create the desired effect.
Step 5: Creating Multiple Copies
Duplicate the pre-composed text file by pressing Ctrl + D six times. Arrange the duplicates as desired to create an animated sequence.
Step 6: Creating a New Text Effect
For additional variety, let’s create another text effect. Duplicate the original text layer and rename it as “Text P”. Instead of stroke, add a fill to the text layer. Pre-compose the layer and apply the Drop Shadow effect to it.
See Also : 3D Typgraphy title animation in After Effects
Step 7: Adding the CC Cylinder Effect
Again Now, apply the CC Cylinder effect to the “Text P” layer. Adjust the settings to create a unique look. Experiment with different render settings to achieve the desired effect.
Step 8: Adding Background and Size Increase
To enhance the overall composition, add a background layer and adjust its size and color. Create a solid layer and apply effects such as Radial Fast Blur and Noise to add texture and depth. Duplicate the layer and experiment with different effects and sizes to create an appealing background.
Step 9: Creating Text Effect
Create a folder for the text effect and rename it as “Text Effect One”. Duplicate the original text layer and replace the composition under the folder with the duplicated layer. Change the stroke to fill and add new text as desired.
Step 10: Applying the CC Reptile Effect
Add the CC Reptile effect to the text layer. Adjust the settings to create a dynamic animation. Set the duration of this composition to five seconds and limit its position using keyframes.
Step 11: Animating from Left to Right
Increase the distance between characters to enhance the animation. The text layer is now complete and will animate from left to right.
Step 12: Creating Text Effect
Two Duplicate the previous layer and reverse the animation by swapping the keyframes. Change the text as desired to create a new variation. Combine both text compositions in one composition for a unified look.
Also See How you can create Slideshow Transition in After Effects
Step 13: Arranging the Compositions
Duplicate and arrange the text compositions as needed. Experiment with rotation angles and positions to create an engaging animation.
Create a final composition and add the background layer. Apply the Shadow effect to the background layer to add depth and adjust opacity and softness settings as desired. Duplicate the main text composition four times and parent each composition to its respective


