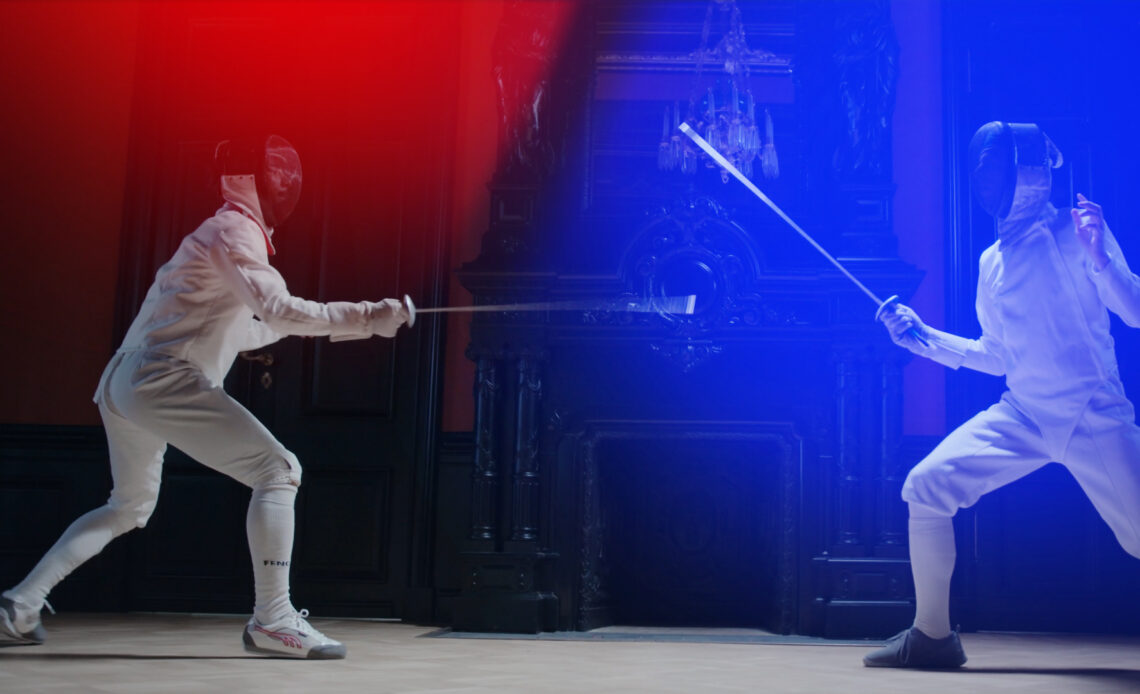
If you’ve ever wondered how to give your videos a cinematic touch with light leaks, you’re in for a treat. In this tutorial, we’ll walk through a simple yet effective method to create your very own light leaks from scratch. No need for complicated plugins or long processes. Let’s jump right in and learn how to create mesmerizing light leaks that will enhance your videos’ visual appeal.
You will Find Video tutorial Also Below
Step 1: Setting Up the Composition
Start by creating a new composition with a width and height of 1920 by 1080 pixels. Set the frame rate to 30 to match the standard video frame rate. You can adjust the composition’s duration depending on the length of your video. Name the composition “Light Leaks” and hit OK.
Step 2: Creating the Light Elements
Add a new shape layer to the composition. Select the ellipse tool while holding the Shift key and create an ellipse. Now, apply the “Gaussian Blur” effect from the Effects & Presets panel to the ellipse shape. Increase the blurriness for a soft, diffused look. Make sure to uncheck the “Repeat Edge Pixels” option for a smoother effect.
Duplicate the ellipse to create another smaller one. Center the anchor point using Ctrl+R and adjust the size and position as needed. Change the color of this smaller ellipse to a vibrant red. Copy and paste the “Gaussian Blur” effect onto this smaller ellipse, maintaining the soft, blurred appearance.
Step 3: Parenting and Animation
Add an adjustment layer to the composition. This layer will be used to control the animation of the two ellipse layers. Parent both ellipse layers to the adjustment layer. This will make it easier to animate the position of the adjustment layer and have the ellipses follow along.
Create another adjustment layer to apply the animation. Now comes the magic: apply the “CC Lens” effect to this adjustment layer. Adjust the size to around 200 to get the desired effect. We’ll animate the Center property by pressing Alt and left-clicking on the stopwatch icon. Add the expression “3, 50” to create a smooth, flowing motion.
Step 4: Animation and Customization
The adjustment layer’s position animation can be done by pressing Alt and left-clicking on the position stopwatch. Add the expression “1, 300” to create a dynamic, animated movement. This animation adds life to the light leaks and enhances their overall look.
Change the blending mode of the ellipse layers to “Add” for a natural light leak effect. Reduce the opacity slightly to ensure the light leaks blend seamlessly with the footage.
Step 5: Fine-Tuning and Playback
Playback your composition to see the mesmerizing light leaks in action. You can further enhance the effect by adjusting the position animations’ parameters. Aim for smooth, subtle movements to create an organic appearance. At the 12-minute and 19-second mark, you’ll notice the ellipses returning to their initial positions, ensuring a seamless loop.
Step 6: Applying the Light Leaks to Footage
Import the footage you want to enhance with light leaks. Pre-compose the footage to match your composition settings. Overlay the light leaks by adding them above the footage layer and changing the blending mode to “Screen.” This mode allows the light leaks to blend naturally with the video.
Step 7: Creating a Seamless Loop
For a continuous, seamless loop, enable time remapping on the footage layer by pressing Ctrl+Alt+T. Alt+left-click on the stopwatch icon and add the expression “loopOut(type = ‘cycle’, numKeyframes = 0).” This expression ensures a smooth loop, regardless of the video’s duration.
Here is the Complete Video Tutorial for the Article
Conclusion:
Voila! You’ve successfully created stunning light leaks using a straightforward method in Adobe After Effects. This tutorial showcased how to set up the composition, create and animate light elements, overlay them on footage, and create a seamless loop for continuous effect. Feel free to experiment with colors and animations to match your video’s aesthetic. If you enjoyed this tutorial, consider subscribing to my channel and sharing it with fellow creators. Happy film making!


