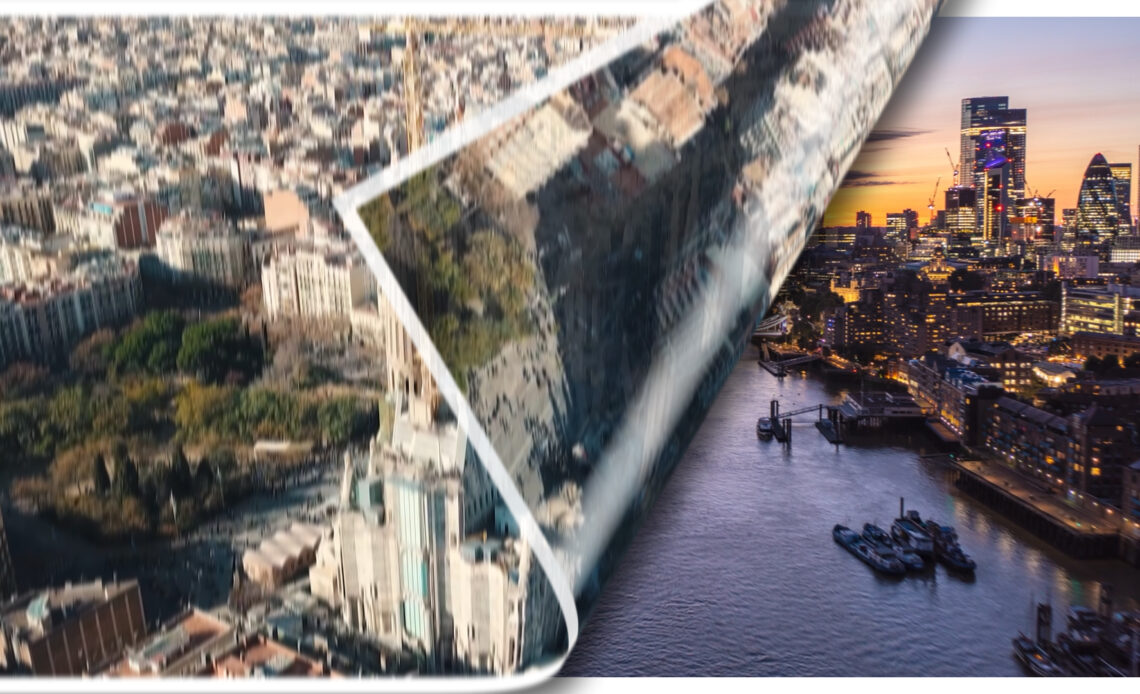
Hello, fellow creators! Are you ready to add a touch of elegance to your videos? In this tutorial, we’re going to dive into the world of page turn transitions using Adobe After Effects. This captivating effect will bring a sense of dynamism and sophistication to your video projects. Buckle up, as we’re about to embark on a journey to create stunning page flip transitions that will leave your audience amazed. Let’s jump right in!
Follow the Link to Watch Youtube Tutorial

Step 1: Setting Up the Composition
To get things rolling, create a new composition. I’ve named mine “Transition.” Set the composition dimensions to 1920×1080 pixels, with a duration of 10 seconds. A white background will provide a clean canvas for our creative endeavor.
Step 2: Adding the Adjustment Layer
We’ll start by adding an adjustment layer to the composition. This will be the canvas on which our page turn effect will unfold. Search for the “CC Page Turn” effect from the Effects & Presets panel and apply it to the adjustment layer.
Step 3: Importing Images or Videos
Import the images or videos you want to use for the transition. I’ve sourced my images from pixels.com, a fantastic resource for free visuals. Once imported, the “CC Page Turn” effect will automatically create a subtle animation on these images, giving them a pastel-like appearance.
Step 4: Adding a Border
To enhance the transition effect, let’s add a border to the images. Use the Rectangle Tool to create a shape layer. Adjust the stroke and disable the fill. By enabling the transparency grid, you can ensure the background remains transparent.
Step 5: Setting Up the Page Turn Animation
Fine-tune the animation by altering the “CC Page Turn” effect settings. Change the controls to Classic UI for more precise adjustments. We’ll be focusing on the Fold Position keyframes. Set the first keyframe, then move ahead in time, click on the Fold Position again, and place it on the opposite side. This will initiate the page flip animation.
Step 6: Introducing the Blur
To achieve a realistic page flip effect, add a sense of motion blur. Insert the “Directional Blur” effect to the composition. Adjust the blurred length by increasing it gradually. By starting with a blurriness of zero at the beginning, you’ll create a crisp appearance before the page starts to turn.
Step 7: Adding Depth with Drop Shadow
Enhance the transition’s depth by adding a drop shadow effect to the page. This will create the illusion of the page lifting off the screen. Increase the shadow’s distance and adjust the softness for a subtle yet impactful effect.
Step 8: Creating the Main Composition
Now, let’s create the main composition where the magic happens. Import your primary image or video and place the transition composition above it. By controlling when the transition starts (using the composition’s duration), you can time it perfectly with your video’s flow.
Step 9: Playing with Timing
Experiment with the timing of your transition by adjusting when it appears in the main composition. This timing control allows you to synchronize the page flip with the narrative of your video.
Step 10: Finalizing the Effect
As a finishing touch, ensure that the transition starts smoothly. By applying the transition’s appearance after a brief period, you can create a seamless and natural effect. This gradual reveal adds a layer of sophistication to the overall presentation.
Craft Your Masterpiece
And there you have it – your very own page turn transition using Adobe After Effects! By following these steps, you’ve mastered the art of adding elegance and style to your videos. Whether you’re creating a professional presentation, a captivating slideshow, or a compelling narrative, this page flip effect can elevate your content to new heights. If you found this tutorial helpful, consider subscribing and sharing it with fellow creators. Now, armed with your newfound knowledge, go forth and dazzle your audience with your unique page turn transitions. Happy creating!


