Introduction: Welcome to my channel! In this tutorial, I’ll guide you through the process of creating a mesmerizing neon photo animation using Adobe After Effects. We’ll cover various techniques to achieve the neon effect, animate the elements, and add dynamic visual enhancements. So, let’s dive right in!
Neon Photo Animation Tutorial as Youtube Video
Step 1: Setting up the Composition
Create a new composition with a duration of 10 seconds. This will be the canvas for our neon photo animation.
Step 2: Creating the Background
Start by adding a new solid layer as the background. Apply the “Gradient Ramp” effect to the solid, and adjust the ramp position and type to your liking. Reduce the opacity to around 40% for a subtle effect.
Step 3: Importing the Image
Import an image with a transparent background (preferably in PNG format) into a new composition. Adjust the size of the image to fit your composition.
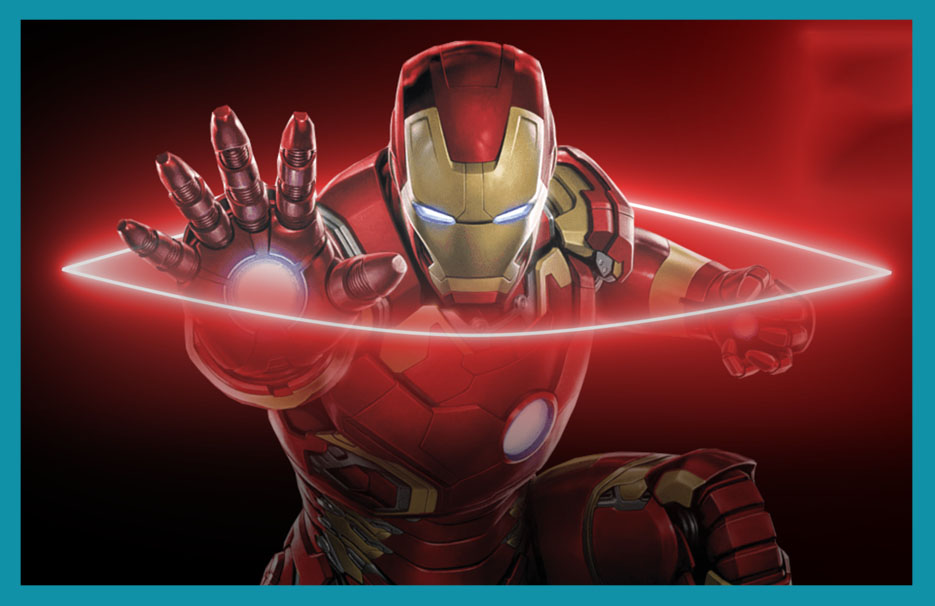
Step 4: Adding the Neon Ring
Create a new composition for the neon ring effect. Add a new solid layer and apply the “Saber” effect to it. Use the pen tool to create a mask shape for the ring. Customize the core size and render settings to achieve the desired neon effect.
See Also: Neon Style Text Animation Tutorial in After Effects
Step 5: Incorporating the Neon Ring
Place the neon ring composition into the main composition above the image layer. Create a mask on the image layer to fit within the neon ring shape. Adjust the feather settings to blend the image with the ring.
Step 6: Adding Color and Glow
Add a solid layer and apply the “Gradient Ramp” effect to it. Customize the colors and position to create a gradient effect. Duplicate the image layer and place it above the color layer. Change the track matte of the color layer to “Alpha” and set its mode to “Screen.” Adjust the opacity as needed.
Step 7: Animating the Neon Ring and Mask
Create a new null object and parent the neon ring, shadow, and glow layers to it. Use keyframes to animate the position of the null object, making the ring move from top to bottom. Adjust the mask positions accordingly to maintain alignment with the ring.
Step 8: Adding Shadows and Glow
Create a new solid layer for the shadow effect. Apply the “Tint” effect and set the color to red. Add a mask to the solid layer to shape the shadow. Rename the solid layer as “Shadow.” Create another solid layer and rename it as “Glow.” Change its mode to “Add” for a glowing effect.
Step 9: Refining the Composition
Resize the image layer to match the proportion of the neon ring. This step ensures that the elements are properly scaled. Make any necessary adjustments to the neon ring’s core size. Preview the composition to see the overall effect.
Also See How to Create Brush Transition in After Effects
Step 10: Adding Text and Final Touches
Create a new solid layer with reduced opacity and add a mask to it. Type in the desired text (e.g., “RoboCop”) and adjust the font size and style. Create a new solid layer and apply the “Saber” effect to it. Customize the settings to create a neon-like text effect. Align the text and animate its opacity for a subtle animation.
Conclusion:
Congratulations on creating your own neon photo animation in Adobe After Effects! In this tutorial, we covered the steps to set up the composition, create the neon ring effect, incorporate the image, animate the elements, and add final touches. Feel free to experiment with different settings, colors, and effects to make your animation unique. If you found this tutorial helpful, please consider subscribing to my channel and sharing it with others. Stay tuned for more exciting tutorials in the future. See you in the next video!