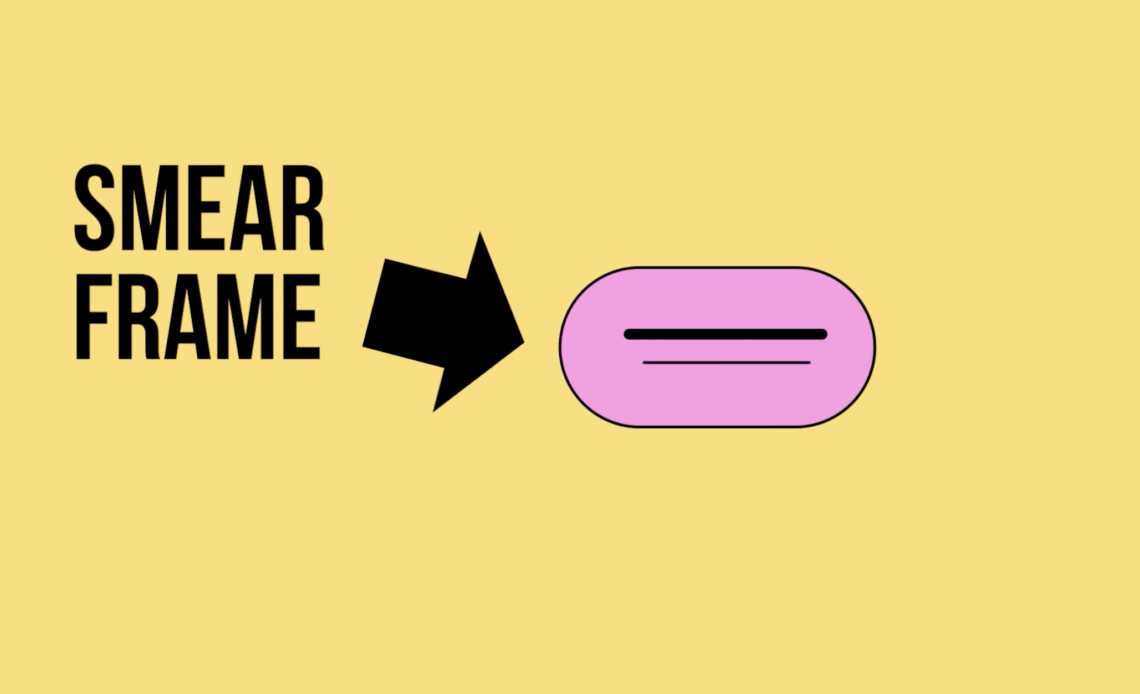
Smear frames are an essential animation technique that enhances motion by simulating the natural blur seen in live-action footage. Originally developed in hand-drawn animation, smears create the illusion of extreme speed while maintaining clarity.
Many animators mistakenly rely on motion blur in After Effects, but if you’re working in 2D animation, using smear frames instead of blur results in cleaner, more readable motion.
In this tutorial, you’ll learn: ✅ What smear frames are and when to use them
✅ The right way to apply smears in After Effects
✅ Different methods for creating smear effects
✅ How to use the Echo Effect properly
✅ A bonus free tool to speed up your workflow
By the end, you’ll have mastered professional smear frame animation! 🎨✨
Step 1: Understanding Smear Frames in Animation
What Are Smear Frames?
Smear frames originated in hand-drawn animation to mimic the natural motion blur seen in live-action footage. Unlike traditional motion blur, smears are used only in fast actions and exist for one or two frames.
Why Use Smears Instead of Motion Blur?
- Motion blur can make animations look muddy and unclear.
- Smears allow for clean, snappy motion while preserving detail.
- They connect drastically different poses smoothly.
Smears are commonly seen in shows like SpongeBob SquarePants and high-energy anime fight scenes.
When Should You Use Smear Frames?
Smears are most effective in fast motion sequences, such as: ✔️ A character throwing a punch
✔️ A ball bouncing quickly
✔️ A character turning their head rapidly
✔️ Any snappy transitions between key poses
Step 2: Basic Smear Frame Animation in After Effects
Let’s start with a simple example: smearing a bouncing ball.
1. Setting Up the Composition
- Open After Effects and create a New Composition.
- Set the frame rate to 24 FPS for smooth animation.
- Create a new circle shape (
Qkey) and center it.
2. Adding Motion
- Select the circle layer and press
Pto open Position. - Set a keyframe at
0s. - Move forward
10 frames, reposition the ball, and set another keyframe. - Apply Easy Ease (
F9) for smoother motion.
3. Creating the Smear Effect
There are three main methods for creating smears in After Effects:
Method 1: Manually Drawing Smear Frames
- Duplicate the circle layer (
Ctrl + D/Cmd + D). - Adjust the Path (
Gkey) to elongate the shape. - Enable Opacity (
T) and lower it to50%. - Position this only on one frame during the fast motion.
✔️ Pros: Maximum control over shape and style.
❌ Cons: Time-consuming for complex animations.
Method 2: Path Animation for Smears
- Select the Shape Layer and enable Path Animation (
G). - Add keyframes where the motion is fastest.
- Stretch the shape along the direction of movement.
- Adjust the Bezier handles to create fluid distortion.
✔️ Pros: Smears update automatically when adjusting motion.
❌ Cons: Requires manual keyframing.
Method 3: Using the Echo Effect (Best for Quick Smears)
The Echo Effect creates a dynamic smear frame automatically.
- Select the Circle Layer.
- Go to
Effects > Time > Echo. - Change:
- Echo Time:
-0.01 - Number of Echoes:
5 - Echo Operator:
Maximum
- Echo Time:
- Adjust the settings so smears only appear during fast movements.
✔️ Pros: Super fast and efficient.
❌ Cons: Can look messy if overused.
💡 Pro Tip: Smears should only last one or two frames to maintain readability! 🚀
Step 3: Enhancing Smears for More Realistic Motion
Once you’ve mastered basic smears, you can refine them using:
1. Motion Blur for Subtle Refinements
Even though we avoid motion blur, in some cases, a slight blur enhances the smear’s realism.
- Enable Motion Blur (
Ctrl + Alt + M/Cmd + Option + M). - Reduce the intensity to keep the animation sharp but natural.
2. Varying Smear Styles
Smears come in different types:
- Stretch Smears (elongating objects)
- Multiples Smears (cloning parts of an object)
- Wave Smears (using Turbulent Displace for wavy motion)
Try experimenting with different shapes and techniques to find the best fit for your animation! 🎨
Step 4: Automating Smears with Schmear by Battle Axe
If you want to automate smears and save time, there’s a free tool called Schmear by Battle Axe.
What Does Schmear Do?
✔️ Generates custom smears automatically
✔️ Adjusts smear length and movement threshold
✔️ Works in real-time with animation keyframes
How to Use Schmear in After Effects
- Download Schmear from Battle Axe’s website.
- Install it in the After Effects Scripts Folder.
- Open the Schmear panel (
Window > Extensions > Schmear). - Select an animated object and click Generate Smear.
- Adjust the length and intensity sliders to control the effect.
💡 Using Schmear speeds up workflow without sacrificing quality! 🚀
Conclusion
🎉 Congratulations! You’ve learned how to create smear frames in After Effects like a pro!


