Introduction
Adobe Illustrator offers powerful tools to create unique text effects, enhancing your graphic designs with professional typography. In this tutorial, we will explore how to use Transform Options, Shear Transform, and Appearance Attributes to craft three stunning text effects.
By the end of this guide, you’ll learn how to:
- Apply Transform Effects to create layered text designs.
- Use Gradient and Stroke Appearance to enhance text depth.
- Create Perspective Text Effects using Shear Transform.
- Modify letter spacing and stroke thickness to create balanced typography.
- Fine-tune gradients and shadows for a more polished and realistic look.
Whether you’re a beginner or an experienced designer, these techniques will help you create eye-catching text designseffortlessly.
Understanding Transform Effects in Adobe Illustrator
Before we start designing, let’s understand the key features of Transform Effects in Illustrator.
What is the Transform Effect?
The Transform Effect in Illustrator allows you to duplicate and modify objects in a controlled way. You can:
- Scale, rotate, or move objects.
- Create repeating patterns and mirrored effects.
- Stack multiple shapes for a layered look.
- Apply transformations non-destructively.
Why Use Transform Effects?
- Time-saving: Automates repetitive design elements.
- Consistency: Ensures precise, uniform transformations.
- Creativity: Enables the creation of complex patterns with simple shapes.
Now, let’s apply these techniques in our first design!
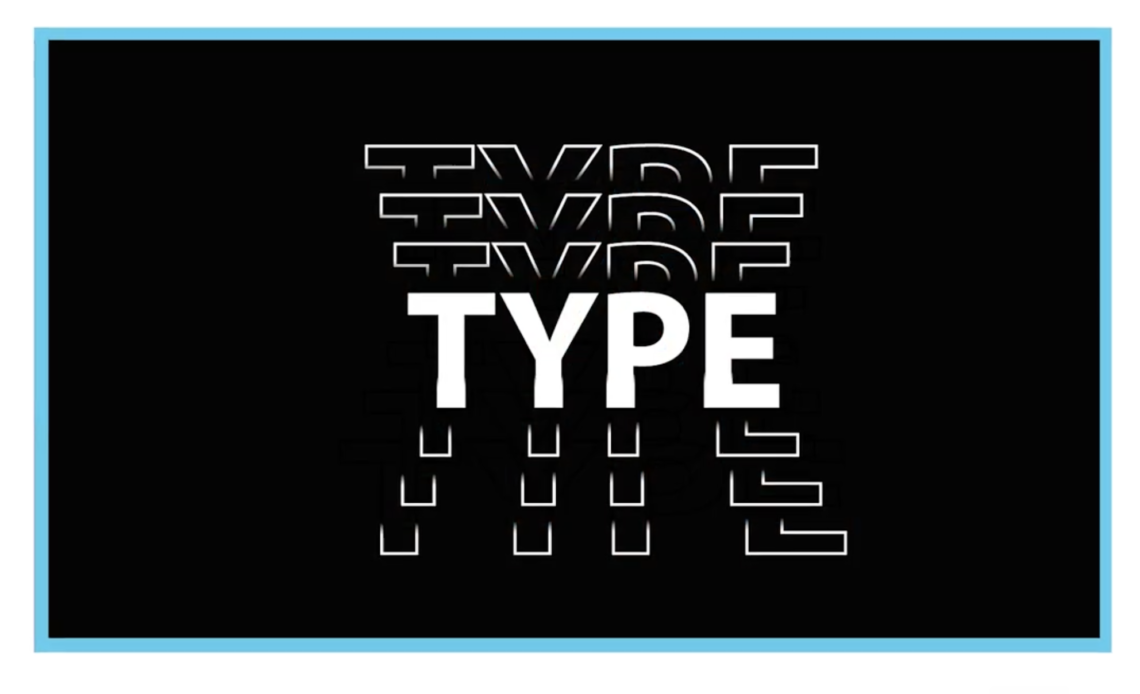
Design 1: Layered Gradient Text Effect
Step 1: Setting Up the Text
- Open Adobe Illustrator and create a new document (1920×1080 pixels recommended).
- Select the Text Tool (T) and type a word, such as “TYPE”.
- Change the font color to white and center the text on the artboard.
Step 2: Creating Multiple Text Layers
- Duplicate the text layer three times using Ctrl + C, Ctrl + F.
- Keep one layer untouched (this will be the main text).
- Remove the fill color from the second and third layers.
Step 3: Applying Stroke and Gradient
- Open the Appearance Panel (Window > Appearance).
- Add a Stroke and change the stroke color to white.
- Increase the stroke thickness to 2pt.
- Apply a Gradient Fill:
- Open the Gradient Panel.
- Choose Linear Gradient and set an angle of -90°.
- Change the top color to white and the bottom color to black.
- Adjust the sliders for a smooth transition.
- Select the Eyedropper Tool (I) and click on the background color to blend the bottom stroke.
Step 4: Applying Transform Effect
- Select the second text layer.
- Go to Effect > Distort & Transform > Transform.
- In the Transform Panel:
- Set Copies: 2.
- Move the text vertically by 20px.
- Scale the text horizontally by 105%.
- Click OK.
- Repeat for the third text layer, but move it downward instead.
Step 5: Fine-Tuning the Design
- Adjust the Gradient direction on the third layer to 90°.
- Modify the scaling and spacing in the Transform Panel if needed.
- Align all elements for a balanced composition.
Your Layered Gradient Text Effect is complete!
Design 2: Multi-Layered Stroke Text Effect
Step 1: Creating the Base Text
- Use the Text Tool (T) to type a word like “STYLE”.
- Change the font to a bold sans-serif style.
- Set the text color to white and scale it up.
Step 2: Applying Stroke via Appearance Panel
- Remove the fill color.
- Open the Appearance Panel and add a Stroke.
- Set the stroke color to white and increase the thickness to 3pt.
- Adjust tracking (letter spacing) in the Character Panel to 75px.
Step 3: Applying Transform Effect
- Go to Effect > Transform.
- Set Copies: 3.
- Move the text vertically by 15px.
- Click OK.
Step 4: Applying Gradient to Stroke
- Select the Stroke Color in the Appearance Panel.
- Click Gradient and adjust the colors:
- Top: White.
- Bottom: Red.
- Set Angle to -90°.
- Duplicate the text layer and move it downward.
- Change the Gradient Angle to 90°.
Step 5: Refining the Effect
- Adjust the stroke thickness for a more dramatic effect.
- Modify scaling and spacing in the Transform Panel.
- Center-align all elements.
Your Multi-Layered Stroke Text Effect is done!
Design 3: Perspective Text Effect Using Shear Transform
Step 1: Creating the Text
- Type a word such as “SOUL”.
- Set the font to a bold, modern typeface.
- Change the text fill color to gray.
Step 2: Applying Transform Effect
- Go to Effect > Transform.
- Set Copies: 5.
- Move the text vertically by 10px.
- Click OK.
Step 3: Applying Shear Transform
- Select the transformed text.
- Right-click and choose Transform > Shear.
- Adjust the Shear Angle to 20°.
- Click OK.
Step 4: Adding Depth and Shadows
- Duplicate the text layer.
- Fill it with black and place it behind the main text.
- Apply Gaussian Blur for a shadow effect.
- Lower the opacity for a realistic look.
Your Perspective Text Effect is now complete!