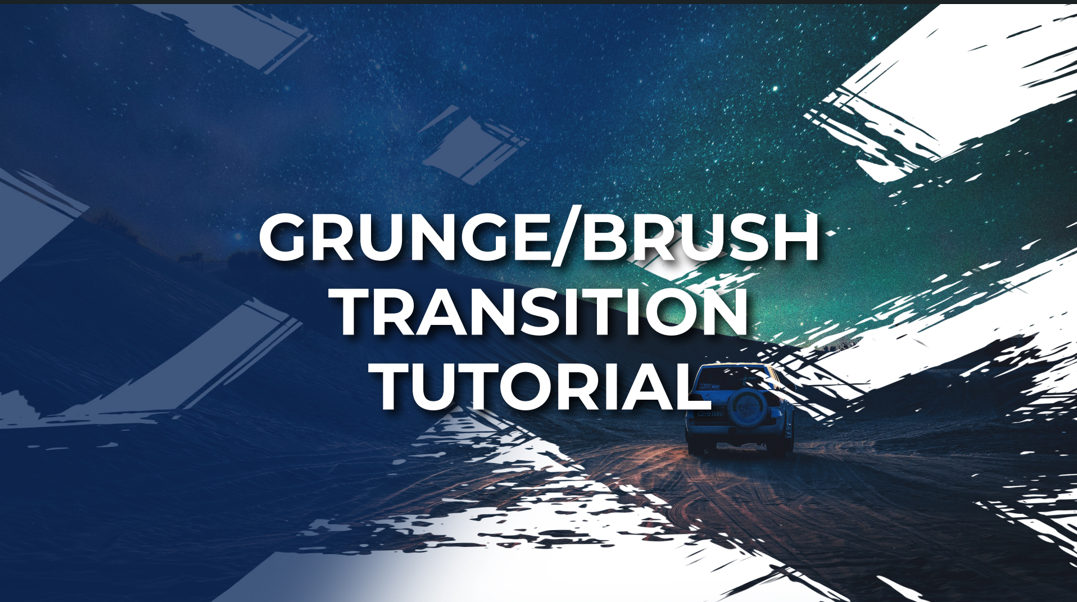
Hello everyone, and welcome to my channel! In this tutorial, I will show you how to create a captivating grunge-style transition in Adobe After Effects. With just a few simple steps, you can achieve an impressive and unique effect to elevate your video projects. So, without further ado, let’s get started!
Here is the tutorial about creating the brush transition
Step 1: Setting Up the Composition
Begin by creating a new composition that will serve as the final render. Name it “Transition” and set the dimensions to 1920×1080 pixels. Even though the transition will last only two seconds, feel free to adjust the duration according to your needs.
Step 2: Creating the Brush Reveal Composition
Next, create a new composition called “Brush Reveal.” Customize its size to 2500×600 pixels. Enabling grids and title action safe will help you get straight lines for your brush stroke. For the reveal effect, use the Trim Paths to animate the stroke from 0% to 100% at around one minute and 15 seconds. Apply easy ease and enable motion blur for a smoother look. Additionally, use the Roughen Edges effect to give the stroke a more organic and brush-like appearance.
Step 3: Adding the Brush Strokes
Now, import a vector file with various brush strokes. Select three brush strokes that you’d like to use in this tutorial. Pre-compose the strokes to keep the project organized and name the pre-comp “Brush 1.”
Step 4: Animating the Brush Strokes
For each brush stroke, duplicate the “Brush 1” pre-comp and modify it accordingly. Use masks to reveal different parts of the brush strokes and change their colors to white using the “Invert” effect. To achieve a seamless effect, set the track matte to “Alpha Matte.”
Step 5: Arranging the Brush Strokes
Create a new composition called “Transition Brushes.” Place and duplicate the brush strokes to cover the entire screen. Arrange them creatively to fill the available space. Add a solid layer with a white color at the end of the layers to cover any remaining empty spaces. Use opacity keyframes to gradually reveal the solid layer and complete the transition.
Also See How to Create Ink SLideshow in After Effects
Step 6: Adding the Image
Import an image you’d like to use for the transition. Resize and position it to fit the composition. Use the “CC Lens” effect to add a dynamic animation to the image. Adjust the size and position to achieve the desired effect. Apply easy ease to the keyframes for smoother animation.
Step 7: Finalizing the Transition
Place the “Transition Brushes” composition above the image layer. Set the track matte to “Alpha Matte” to make the brushes interact seamlessly with the image. Now you have your own grunge-style transition ready!
Congratulations! You have successfully created a captivating grunge-style transition in Adobe After Effects. This unique effect will add a touch of creativity and flair to your video projects. Feel free to experiment with different brush strokes, images, and compositions to tailor the transition to your specific needs and style. If you enjoyed this tutorial and found it helpful, consider sharing it with others. Don’t forget to subscribe to our channel for more exciting tutorials. Until next time, happy creating! Goodbye!


