Motion graphics can often feel flat and lifeless without the right visual treatments. Whether you’re working on animations, explainer videos, or title sequences, the use of visual styles and effects plays a crucial role in making your designs stand out. Applying advanced techniques not only enhances the overall appeal of your project but also gives it a more professional and polished look.
In this guide, we will cover essential visual style techniques in After Effects that will bring dynamic motion and depth to your animations. These techniques combine effects, adjustments, and creative treatments that professional motion designers use to craft visually engaging compositions.
By the end of this tutorial, you’ll have a solid understanding of: ✔ How to create posterized time and turbulent displacement effects for a stylized animation look. ✔ Techniques for texturing animations to make them feel more organic and natural. ✔ The process of adding glow effects with realistic light interaction. ✔ How to apply paper and grain textures for a print-like aesthetic. ✔ Using gradient ramp techniques for better depth and cinematic lighting.
Let’s explore each of these techniques in detail. 🚀
1. Posterized Time and Turbulent Displacement – Creating a Stylized Motion Effect
This technique helps give animations a staggered, hand-drawn feel, perfect for adding an artistic touch to motion graphics. It is commonly used in frame-by-frame animation simulations and stop-motion effects.
Step 1: Apply Turbulent Displacement
- Create an Adjustment Layer (Layer > New > Adjustment Layer).
- Open Effects & Presets and search for Turbulent Displace.
- Apply Turbulent Displace to the Adjustment Layer.
- Adjust the values:
- Amount: 10
- Size: 50
- Click on the Evolution Stopwatch, move 4-5 frames forward, and adjust the Evolution Value.
- Repeat the process 4-5 times to create different states of distortion.
- Select all keyframes, right-click, and choose Toggle Hold Keyframe for a stepped animation effect.
- To make the animation loop seamlessly, apply this Loop Expression:
loopOut(type="cycle")Step 2: Lower the Frame Rate for a Stutter Effect
- On the Adjustment Layer, apply Posterize Time.
- Set the Frame Rate to 12 FPS.
💡 Pro Tip: Duplicating Turbulent Displace and inverting the values creates a layered distortion effect, adding extra movement to the animation.
2. Adding Animated Textures for More Depth
Textures add organic and dynamic elements to animations. This technique creates grainy, hand-drawn effects that make digital animations feel more tactile.
Step 1: Import & Precompose the Texture
- Import a grunge, ink splatter, or paint texture.
- Right-click > Pre-compose the texture to keep it separate.
- Rotate or adjust the position every 4-5 frames.
- Apply Toggle Hold Keyframe for a frame-by-frame animation.
Step 2: Mask the Texture for Contact Effects
- Add a mask around key areas where colors meet.
- Duplicate the texture and move it slightly to avoid repetition.
- Apply Hue/Saturation to recolor each duplicate texture.
💡 Pro Tip: Experiment with Blending Modes like Overlay and Multiply to enhance the organic feel.
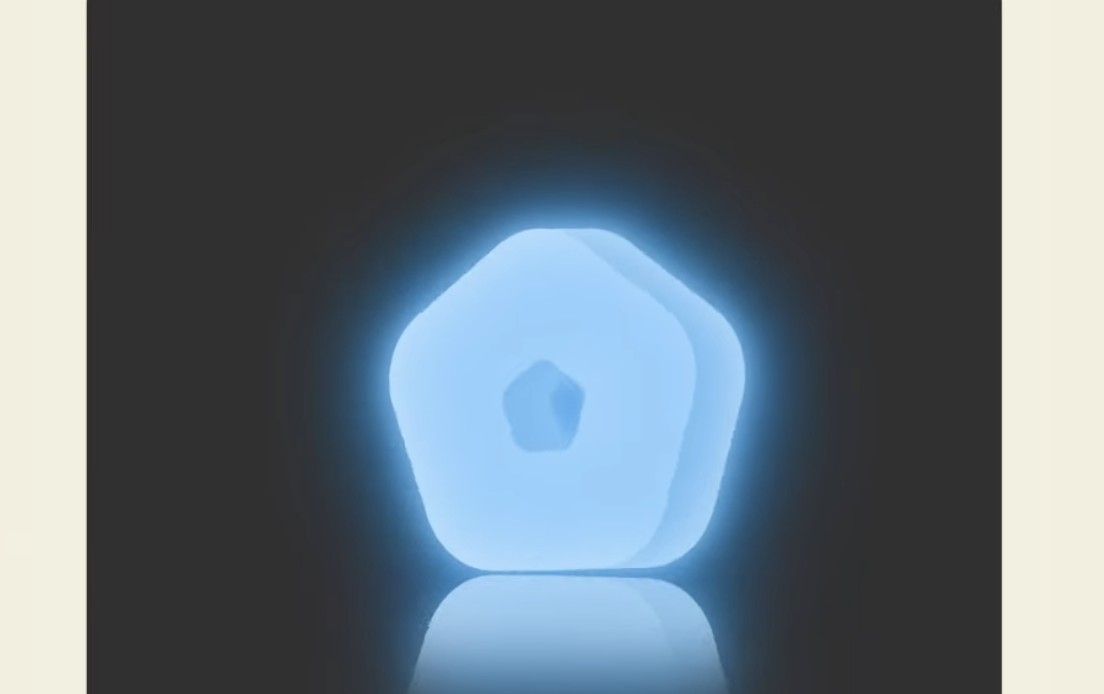
3. Creating a Realistic Glow Effect
Adding glow to text, icons, or objects enhances depth and realism, making designs more engaging.
Step 1: Apply a Basic Glow with Drop Shadow
- Select the Shape or Text Layer.
- Apply Drop Shadow (Effect > Perspective > Drop Shadow).
- Choose a bright hue for the Shadow Color.
- Increase Opacity to 100% and set Softness to 300px.
Step 2: Layer Multiple Shadows for Realism
- Duplicate the Drop Shadow effect (Ctrl + D).
- Adjust color tones to add depth variations.
- Apply a third shadow with a smaller Softness value to simulate rim lighting.
💡 Pro Tip: If you face issues with layer styles affecting other effects, precompose the layer first.
4. Creating Ground Reflections for Extra Realism
Reflections add a 3D-like look to motion graphics, making objects feel naturally placed in a scene.
Step 1: Duplicate and Flip the Layer
- Select the object layer and Duplicate it (Ctrl + D).
- Flip the duplicate vertically (Right-click > Transform > Flip Vertical).
- Align it directly below the original object.
Step 2: Apply a Fade Mask
- Apply a Mask (M) and adjust the Feathering.
- Reduce the reflection’s opacity for realism.
Step 3: Ensure Glow Doesn’t Overlap the Contact Point
- Duplicate the reflection layer and remove any blur effects.
- Adjust opacity and mask to blend correctly.
5. Gradient Ramp for Depth & Style
Gradients create cinematic light falloff, guiding the viewer’s eye to the main focus.
Step 1: Apply Gradient Ramp
- Open Effects > Generate > Gradient Ramp.
- Adjust gradient colors to match a light source direction (e.g., light yellow to deep orange).
Step 2: Adding Highlights and Shadows
- Duplicate the main object layer.
- Apply Hue/Saturation and increase Lightness.
- Mask the top part and feather it.
- Duplicate the layer, invert the mask, and darken the lower part.
💡 Pro Tip: Use Simple Choker to refine mask edges for smoother transitions.
6. Applying Paper & Grain Textures for a Printed Look
Adding film grain, paper textures, and dust overlays creates a vintage printed effect.
Step 1: Prepare Your Texture Layers
- Import a paper texture and trim it to 4-5 frames.
- Select all texture layers, go to Keyframe Assistant > Sequence Layers.
- Enable Time Remapping (Layer > Time > Enable Time Remapping).
- Apply Loop Expression:
loopOut(type="cycle")Step 2: Blend Textures with the Animation
- Set the Blending Mode of the paper texture to Soft Light.
- Apply a Displacement Map (Effect > Distort > Displacement Map).
- Use the paper texture as the displacement source.
Step 3: Roughen Edges for a Hand-Printed Look
- Apply Roughen Edges (Effect > Stylize > Roughen Edges).
- Set Scale to 10 and Border to 3.
💡 Pro Tip: Adjust the Displacement Map horizontal and vertical values for a stronger distortion effect.
Final Thoughts
By mastering these techniques, you can significantly improve the visual quality of your motion graphics projects. Here’s a quick recap:
✔ Posterized Time & Turbulent Displacement – For stylized motion effects. ✔ Texturing Animations – Adding ink, grunge, and organic elements. ✔ Glow Effects – Creating realistic, layered glow treatments. ✔ Ground Reflections – Making objects feel grounded in space. ✔ Gradient Ramp for Depth – Enhancing light falloff. ✔ Paper & Grain Textures – Creating a vintage print effect.
Experiment with these techniques, mix them together, and discover new styles that fit your motion graphics projects! If you enjoyed this tutorial, let us know which technique was your favorite. 🚀